If you’ve got a patch of earth and visions of fresh tomatoes or crispy lettuce, setting up the space right from the start is where the magic happens. Most novice gardeners throw seeds into the ground and hope, but the pros know it’s all about planning. Ever wondered why some gardens turn into lush, thriving jungles while others barely limp along? Layout is the unsung hero. It shapes the way plants soak up sun, get watered, and even how easy it is to harvest. Miss the mark on layout, and you’ll waste time and veggies. The truth? Even cramped suburban yards or back patio spaces can turn out baskets of produce—if you design smart.
Key Principles for a Productive Vegetable Garden Layout
The absolute game-changer for vegetable gardens: sunlight. Most veggies crave six to eight hours of direct light a day. Put your sun-lovers like tomatoes, peppers, and eggplants where the rays hit longest, typically the south or southwest side. Tuck shade-tolerant greens—think lettuce or spinach—at the edges or behind taller plants. Here’s a tip most gardening guides miss: Don’t plant tall crops on the south edge if you’re in the northern hemisphere. They’ll shade everything north of them. Flip that if you’re gardening south of the equator. I’ve seen rows of corn or towering beans block out an entire half of a garden by late June simply because the gardener didn’t map sun angles.
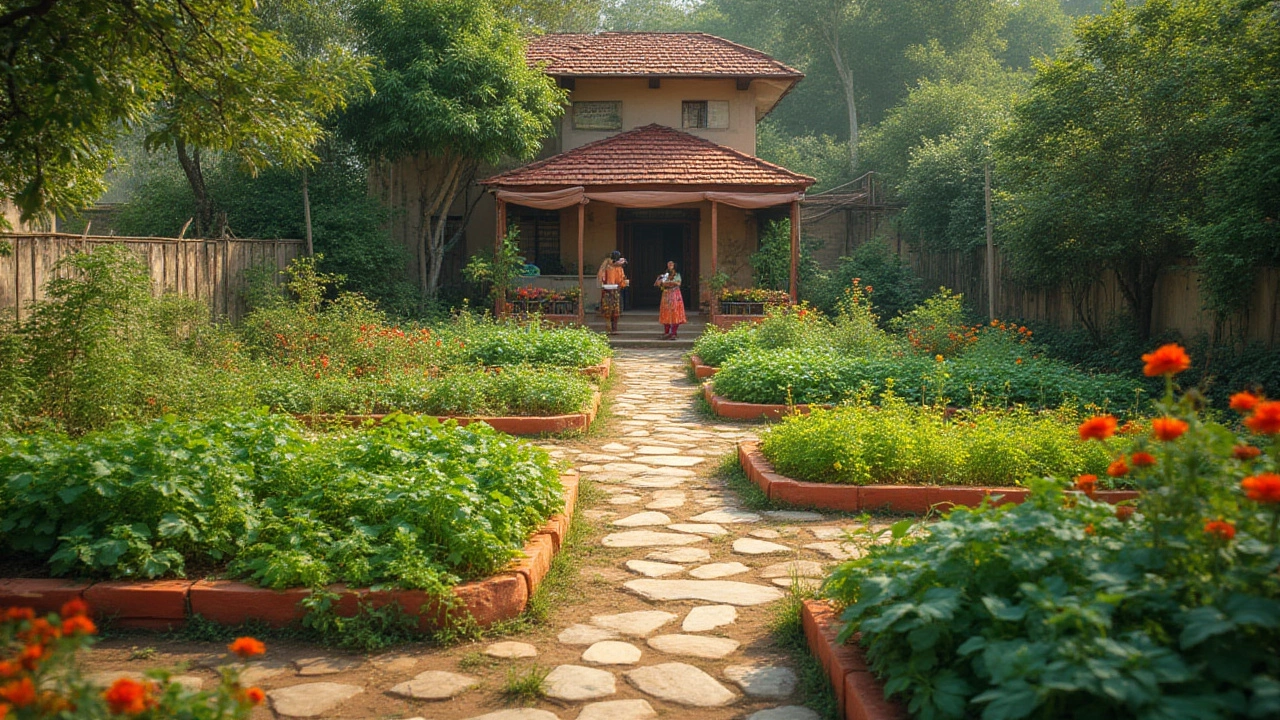
Another key is access. Wide, rectangular beds let you move around easily and reach every plant. Popular advice: keep beds under four feet wide so you can reach in from either side without trampling soil. Walkways should be at least 18 inches wide. If you like using wheelbarrows (once you do, there’s no turning back), leave enough space for that too. Ever tried to tiptoe between rows with a basket full of cucumbers and ended up squashing a zucchini plant? Wider paths prevent that and make the whole process feel less like a balancing act.
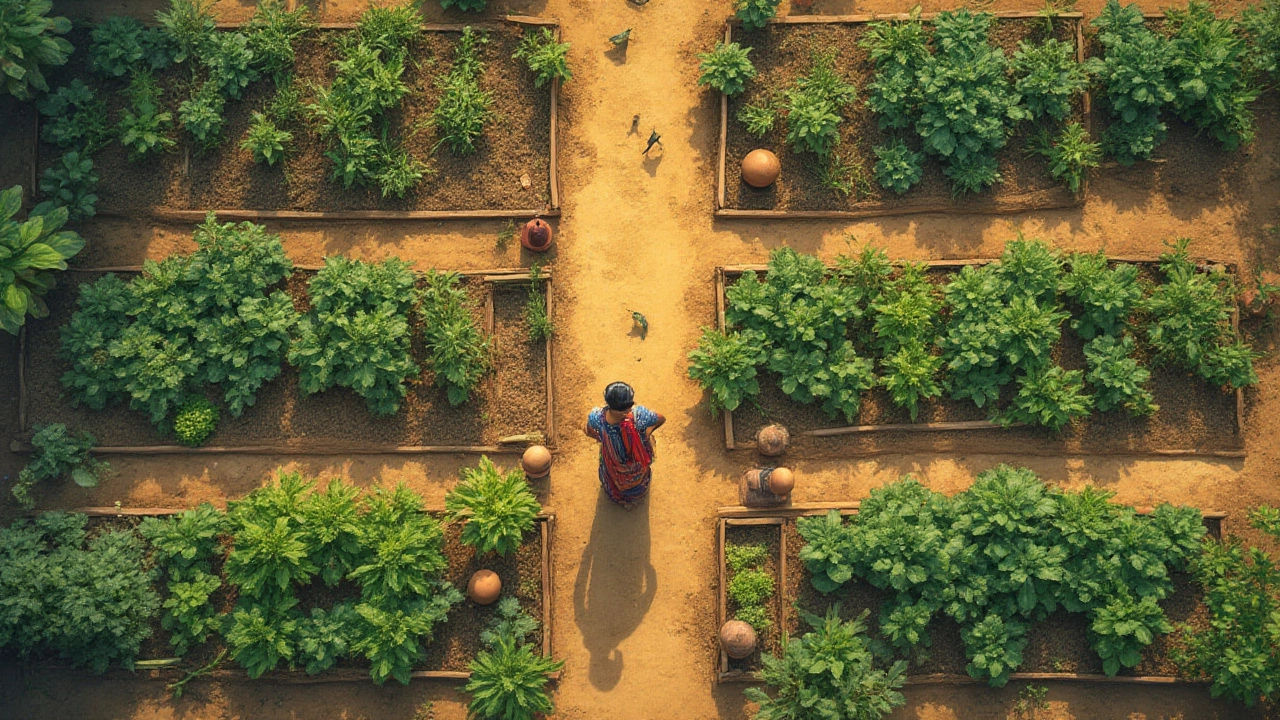
Soil structure can make or break your harvest. Raised beds are wildly popular now because they drain better, warm up quickly in spring, and tend to stay loose—roots love that. Research from the University of California found raised beds produced up to 30% higher vegetable yields compared to traditional in-ground plots, simply because roots aren’t fighting compacted dirt. But you don’t have to go fancy: a simple mound, framed with untreated lumber or even old bricks, does the trick. Keep your beds oriented north-south; this makes sure both sides get their fair share of sun through the season. And mulch! It helps regulate soil temperature, keeps weeds at bay, and prevents precious moisture from escaping. If you’re mulching, keep a few inches clear around plant stems to avoid rot.
Let’s talk about water. Vegetables get thirsty, especially during the dog days of summer. Place thirsty crops together, near your water source. Set up drip irrigation if you can—less waste, fewer fungal diseases, and less time standing out there with the hose after work. A study by Texas A&M found that gardens with well-placed drip systems used 30% less water and produced bigger crops than those left to traditional sprinklers. That’s a win for your wallet and the planet. Group together veggies with similar water needs to avoid confusion and stress. For example: keep tomatoes, peppers, and eggplants in one area and onions, garlic, or carrots—plants that like drier soil—in another.
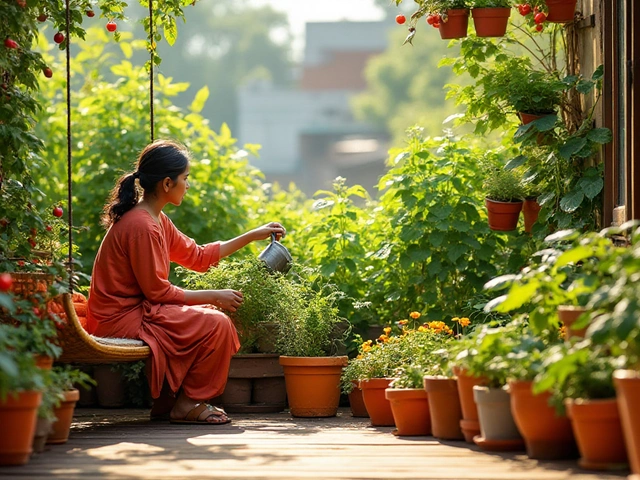
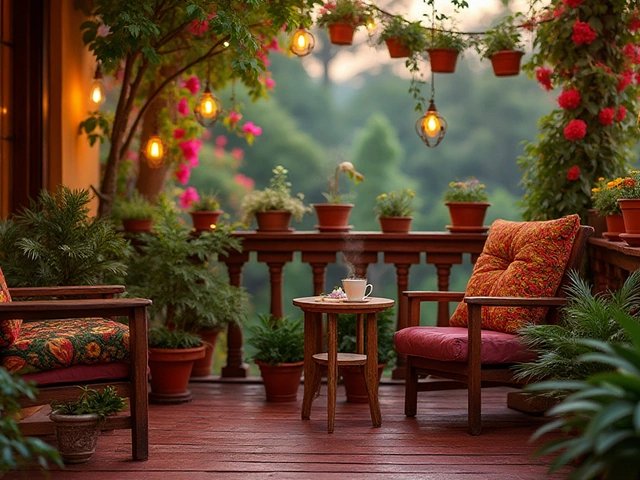
Last thing: leave space for yourself. Don’t cram every inch with green. Leave room for a bench, a few stepping stones, a spot to set down your tools or just prop up your feet. Trust me, you’ll want a place to admire your work—especially at sunset when things are buzzing and glowing. The most productive gardens feel inviting, not overcrowded.
| Garden Feature | Ideal Dimensions | Notes |
|---|---|---|
| Raised Bed Width | 3-4 feet | Reach plants from both sides |
| Pathway Width | 18-24 inches | Smooth walking and wheelbarrow access |
| Bed Orientation | North-South | Ensures even sun for both sides |
| Mulch Layer | 2-3 inches | Retains moisture, blocks weeds |
| Drip Line Placement | Beside base of each plant | Efficient, targeted watering |
Popular Layout Styles and When to Use Each
If you dig through vegetable gardening books (or just scroll Instagram), you’ll spot all kinds of layout styles, from the classic grid to wild, permaculture-inspired spirals. Each style suits a different gardener and site. The straight-row method is the old standard. It’s tidy, easy to plan, and makes rotating crops a breeze. Line up your tomatoes, peppers, and beans in straight lines, spaced a foot or two apart. This is super handy for big gardens, or if you want to use tools like hoes or tillers. The catch? Straight rows can look a little plain, and if your soil isn’t healthy, it’s easier for pests or diseases to jump from plant to plant.
Raised beds are huge right now. People love them for their clean look and for making everything more manageable. Build a few rectangles with planks or bricks (height: 6-12 inches is great). Fill them with a blend of compost and garden soil. You can pack more plants in because you’re not trampling the soil. If you want to try intensive planting—the kind that turns one 4x8 foot bed into a salad bar for weeks—raised beds are where it shines. There’s a reason the Square Foot Gardening method, invented by Mel Bartholomew, spread like wildfire in the 1980s. It’s easy: divide the bed into a grid, and plant according to each veggie’s spacing needs. You might fit 16 carrots, 4 lettuces, 1 tomato, and 2 basil plants in just one square. No wasted space, less weeding, and better yields per square foot.
Keyhole gardens are brilliant in small or drought-prone spaces. Imagine a pie-shaped bed with a “slice” cut out so you can easily reach the center. Organic matter goes right in the middle, breaking down and nourishing your crops over time. This design works wonders where water is scarce, because it conserves every drop. Folks in Texas and parts of Africa have been making use of these for decades with impressive results. Plus, you can build them out of pretty much anything: rocks, bricks, logs, or even old tires.
Some people swear by spiral gardens. They look almost magical, a swirl of green that rises up. These are good for herbs or compact crops—especially if your space is tiny and you want a bit of vertical action. By planting the thirstiest or sun-loving plants up top, and those that like shade and cooler soil near the bottom, you get a mini microclimate in just a few square feet.
If you want to go full companion planting—an approach that has been documented since ancient Roman times—mixing certain crops together helps with pests, pollination, and soil health. Classic combos include tomatoes and basil (improves tomato flavor and deters pests), carrots and onions (each repels the other’s pests), or the legendary Three Sisters (corn, beans, and squash). This layout may look messy to traditional gardeners, but it’s how nature does it, and the science now backs up its benefits. Studies published in "Agronomy for Sustainable Development" found that mixing crops can reduce pests by up to 51% and sometimes bumps up yield per area as well.
For urban gardeners, don’t ignore vertical options. Trellises, cages, and netting help vining crops grow up, not out. Cucumbers, peas, pole beans, and even melons can climb instead of sprawl, saving heaps of ground space. If you’re in a patio or balcony situation, vertical gardening might be your only option, but it works surprisingly well. Just remember to keep big trellises on the north edge of your garden bed so you don’t shade out the rest.
The last style to mention: forest-inspired or permaculture layouts. These use trees or shrubs for backbone, underplanted with edible perennials, annuals, flowers, and herbs. It’s a long-game approach, but after a few years, you can harvest almost year-round with little work. A fun fact: home forest gardens can support up to 10 times more types of edible plants than a standard veggie plot, according to the UK’s Agroforestry Research Trust. Plus, you get habitat for birds and pollinators thrown in.

Smart Design Tips and Common Pitfalls to Avoid
There’s nothing more deflating than pouring months into a garden only to end up with a jungle of weeds or a patch chewed to the roots by pests. Here’s how to dodge the common heartbreaks. First off, avoid overcrowding. Everyone gets ambitious in spring—with dreams of salads for every meal—and ends up planting way too closely. Crowded beds stress plants out, steal light and nutrients, and invite mildew. Follow the seed packet’s spacing guide; if in doubt, give plants some breathing room. Good airflow beats more plants every time.
Resist the urge to mix thirsty and drought-resistant plants in the same bed. Tomatoes and squash chug water, but sage or rosemary prefer to stay dry. Grouping by water needs keeps everyone happier and saves you from constantly fiddling with the hose or risking root rot.
Think about crop rotation. Planting the same type of veggie in the same spot year after year invites trouble, as soil-borne diseases and pests build up. A basic three- or four-year rotation—roots, leaves, fruiting, then legumes—keeps soil healthier and pest cycles off balance. Most kitchen gardeners just sketch out last year’s beds and shift things over one section; it doesn’t have to be fancy or complex.
Weeds are the enemy of all good garden plans. Before you plant, lay down cardboard or thick layers of newspaper, then add soil and compost on top. This sheet mulching cuts down on weed seeds breaking through and breaks down into nutrients for your garden over time. It’s like a cheat code for new beds.
Fencing may sound overkill, but try losing an entire row of beans to rabbits and you’ll change your tune. A simple 3-foot fence keeps out most critters (raise it higher and dig it a few inches underground for determined pests). If that feels like too much, at least use row covers on young plants—especially in spring when animals are hungriest.
Add organic matter every chance you get. You can’t overdo compost. Finished kitchen scraps, rotted leaves, well-matured manure—all boost your soil’s life force. Keep a compost bin nearby to cut down on trips and keep the cycle going.
Pathways get overlooked early but matter later. Use mulch (wood chips, straw, pine needles) on walking paths to keep weeds down and mud at bay. If you prefer something more permanent, bricks or stepping stones work great and look tidy. You’d be surprised how much it helps morale to have clean feet after a morning harvest.
Plant some flowers amongst your vegetables. Marigolds, nasturtiums, and calendula not only add color but pull in pollinators and naturally deter pests. Some flowers, like borage, can boost garden yield—bees love it, and it can even improve the flavor of tomatoes planted nearby.
Stagger your plantings for a longer season. Plant early, mid, and late-season varieties to avoid the feast-or-famine syndrome. Imagine never being without a salad, all summer into fall. Succession planting is how the market gardeners do it, and anyone with a calendar and a little discipline can pull it off.
- Use good labels; spaghetti squashes and cucumbers look awfully alike as seedlings.
- Keep a simple notebook or app log. Write down what and when you plant.
- If you have kids or grandkids, give them their own patch. They’re more likely to eat what they grow.
- If possible, build one extra bed for an experiment—a new veggie, a new layout, or a pollinator-attracting flower mix.
The payoff to all this planning? A season overflowing with vibrant, flavorful produce, a backyard that feels like your own edible paradise, and maybe, just maybe, a bit of peace and pride every sunset. A good vegetable garden layout turns ordinary soil into something extraordinary.