People love to rave about drip irrigation saving water, but few talk about the flip side. Beneath all the hype, some real headaches pop up once you start using the system every day. If you’re thinking you’ll just set it and forget it, you’re in for a surprise.
The problems don’t show up right away either. Some issues reveal themselves over weeks or months. I’ve seen friends install a fancy kit in spring, only to be knee-deep in repairs by late summer. Whether you’re watering planters, a small veggie patch, or a field, there’s stuff you’ll want to know before you commit.
Keep reading—I’ll walk you through the main disadvantages of drip irrigation, the ones most sales pitches skip over. I’ll also share tips from my own backyard, so you dodge the worst of it or at least feel prepared before you start.
- Upfront Installation Headaches
- Clogging: The Silent Enemy
- Maintenance Never Ends
- Hidden Costs Piling Up
- Is Drip Always Worth It?
- Smart Solutions and Workarounds
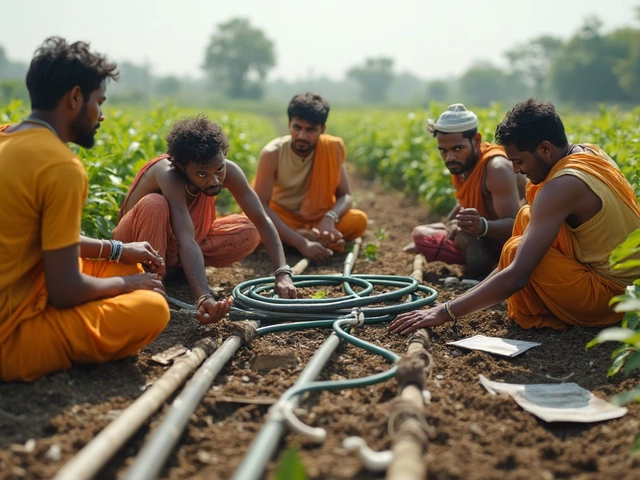
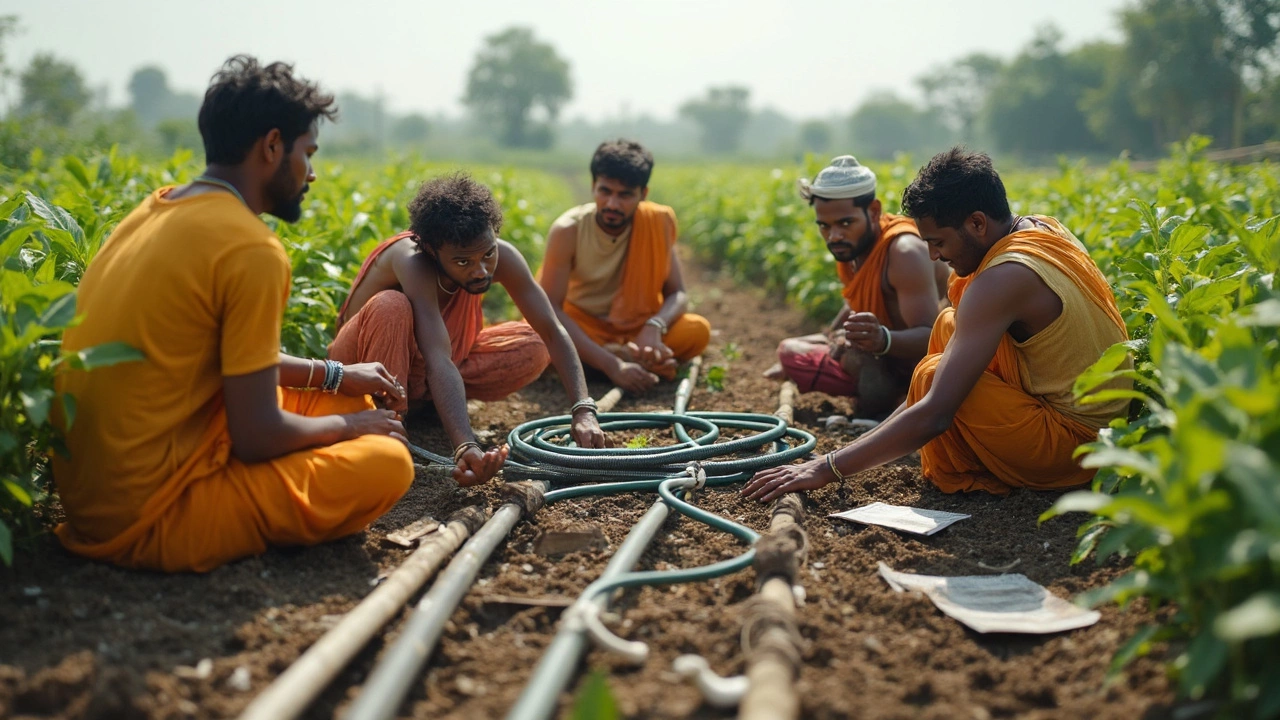
Upfront Installation Headaches
Deciding to set up a drip irrigation system isn’t as quick and easy as slapping down some hoses. The first challenge? It’s not plug-and-play. You’re dealing with a bunch of pipes, fittings, and connectors that all have to actually work together—or you end up with leaks, weird pressure drops, or sections that don’t water at all. There’s some real homework involved in laying things out, especially if your garden or field isn’t a neat little rectangle.
According to the University of California’s Division of Agriculture and Natural Resources, “Even a ‘simple’ home system can take three to six hours to install—assuming you already know what you’re doing.” Installation often includes:
- Measuring the area so every plant gets what it needs
- Calculating water pressure (some homes have too much or too little)
- Deciding on emitter spacing, flow rates, and right hose diameter
- Digging shallow trenches or covering tubing—otherwise lines bake fast in the sun
- Testing everything for leaks and clogs before you plant your tomatoes
Nothing is worse than dialling in your system only to find out your water pressure is too high and half your emitters keep popping off. Or too low, so the plants at the end of the line look sad and unwatered. Here’s a quick look at typical time and cost for getting started:
| System Size | DIY Install Time | Basic Kit Cost (USD) |
|---|---|---|
| Small (patio/planters, up to 100 ft.) | 2-3 hours | $60-$120 |
| Medium (garden up to 500 ft.) | 5-8 hours | $120-$250 |
| Large (small farm, 1000+ ft.) | 2-4 days (DIY) | $400-$1200 |
Elara and I spent an entire weekend getting ours just right. We had to learn on the fly about backflow preventers—honestly, something you don’t even think about until there’s muddy water running back into your drinking supply. If you want it professionally installed, expect the price to double.
So, don’t let fancy packaging fool you. There’s a learning curve and you’ll need a few tools, a fair bit of patience, and maybe a friend who knows what a pressure regulator actually does. As Roger Doiron—founder of Kitchen Gardeners International—said:
"Drip irrigation systems are a great way to target roots, but only if you’re willing to invest the time upfront. Anyone who thinks it’s a quick weekend job is in for a surprise."
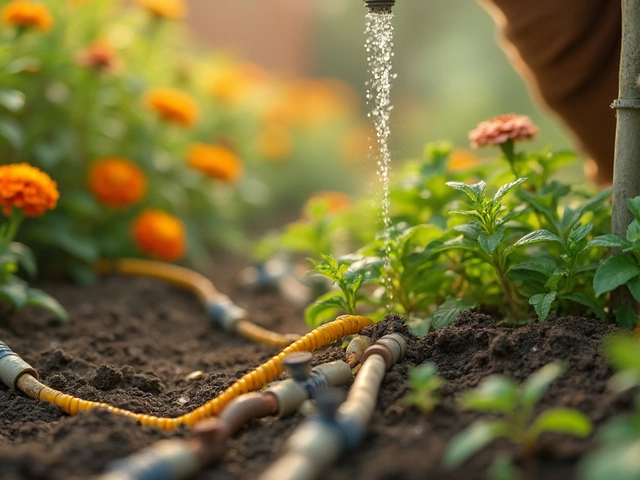
Clogging: The Silent Enemy
The big catch with drip irrigation is clogging. Honestly, nothing ruins a garden day faster than learning your plants are thirsty because a few emitters got plugged. This problem shows up everywhere, from backyard setups to massive commercial fields. Usually, the main culprits are tiny particles—sand, silt, algae, even bits of fertilizer—that sneak into the lines and choke the emitters.
Here’s a stat that might make you blink: according to the University of California Agriculture and Natural Resources, “Emitter blockage is the most common and expensive maintenance problem in drip irrigation systems.”
Drip emitters are very sensitive to even minor debris, so regular filter checks are crucial to system reliability.If you forget to clean your filters (don’t worry, almost everyone does at first), a single clog can mess up watering in a whole section.
Clogs come in a few flavors. The usual suspects look like this:
- Hard water deposits (mineral buildup from calcium or iron).
- Organic gunk—algae, bacteria, or root fragments.
- Sand, silt, or bits of pipe plastic breaking off inside the system.
- Fertilizers that just don’t dissolve fully and clump up.
The fix isn’t glamorous, but it saves you headaches: check and flush your filters every week or two. Commercial growers sometimes use acid or chlorine flushes, but most backyard folks stick with running water for five or ten minutes. Also, use a filter—and make sure it’s the right size for your water source.
If you’re using water from a well or an open tank, you’ll need to be extra careful—these sources come loaded with fine particles. City or municipal water usually means fewer headaches, but even those systems aren’t immune. I learned that the hard way after a summer heatwave bloomed algae in my rain barrel, and suddenly the whole row of tomatoes drooped.
Bottom line: clogging is annoying, but it’s avoidable if you set up good habits from the start. Drip irrigation works best when you treat maintenance like brushing your teeth—quick, regular, and never skipped.
Maintenance Never Ends
Drip irrigation is sold as a hassle-free way to water plants, but the reality is that there's always something breaking, leaking, or clogging up. Those skinny tubes and emitters might look simple, but they need constant attention if you want them to work right. Ignore them for a couple of weeks, and you'll probably end up with dead plants or soggy patches where a leak went unnoticed.
Here’s what most folks don’t realize: the tiny holes in emitters are magnets for dirt, minerals, even bugs. You’ll find calcium scaling up if your water’s hard, and algae will grow wherever light hits moist tubing. A lot of people also get surprised by root intrusion—roots actually sneak into the tubes looking for water! The result? Nothing flows where it should, and you’re left to find the blockage.
If you’ve ever run drip lines past a patch of weeds, you probably ended up wrestling with a tangle of chewed-up hoses thanks to curious critters. Mice, raccoons, even rabbits chew through tubing. I’ve lost count of how many mornings I’ve found a little geyser where the line should’ve been quietly dripping along.
If you want your drip irrigation to last, here are a few routine chores to add to your list:
- Regularly inspect all lines, connectors, and emitters for leaks or blockages. It takes only a week for one missing drip to dry out a whole tomato plant.
- Flush the system every month. Most filters can be opened up for cleaning; don’t skip this step.
- Check for critter damage after storms or in early spring. Some pests chew when moving in for shelter.
- If you use fertilizer through your system (fertigation), clean it out more often to avoid buildup inside the tubes.
- Swap out old or brittle tubing each season. Sunlight makes plastic crack, even the UV-resistant stuff.
No matter the brand, drip systems aren’t “set-and-forget.” Expect routine repairs and cleanings if you want healthy plants. Skipping maintenance will cost you time and money in the long run.
Hidden Costs Piling Up
This is where most folks get blindsided. Drip irrigation can look cheap at first—after all, those starter kits seem affordable for any gardener. But once you start expanding or fixing things, the bills creep up on you.
You’re not just buying tubing and emitters. There’s also pressure regulators, filters, timers, connectors, replacement parts, and sometimes even trenching equipment if you install underground. Each extra veggie row you decide to water means more supplies. My buddy once joked his tomatoes were drinking out of gold-plated pipes with the money he spent fixing leaks and replacing clogged drippers.
Check out this quick breakdown of typical costs with drip irrigation gear. These numbers come from 2024 home and garden suppliers, not from memory or a decades-old textbook:
| Item | Average Cost (USD) |
|---|---|
| Starter Kit (50–100 ft) | $40 – $70 |
| Pressure Regulator | $15 – $40 |
| Replacement Emitters (Pack of 50) | $18 – $30 |
| Filter | $20 – $50 |
| Timer | $35 – $120 |
| Misc. Connectors/Fittings | $10 – $25 |
And this is before you add up the cost of DIY fixes or calling a pro if something major goes wrong. One thing that caught my neighbor Elara off guard? Water quality. If your water’s full of minerals or sediment, you’ll burn through filters and replacement drippers even faster.
Experts agree that these add-on costs catch new users off guard. According to a University of Florida extension report on irrigation systems,
"Hidden and ongoing expenses—especially for repairs and maintenance—are the number one reason homeowners abandon drip systems within five years."
If you’re on a tight budget, keep these extra costs on your radar. Don’t let a bargain-priced kit lead you down a path of constant spending. My tip: always add 25–40% to your original budget to avoid surprises later. That way, you won’t end up frustrated or out of pocket halfway through the season.
Is Drip Always Worth It?
This is the million-dollar question. You’ve probably seen those before-and-after pictures of lush gardens and catchy promises of water savings. But real life isn’t always as glossy. Drip irrigation can be awesome or downright frustrating depending on your situation.
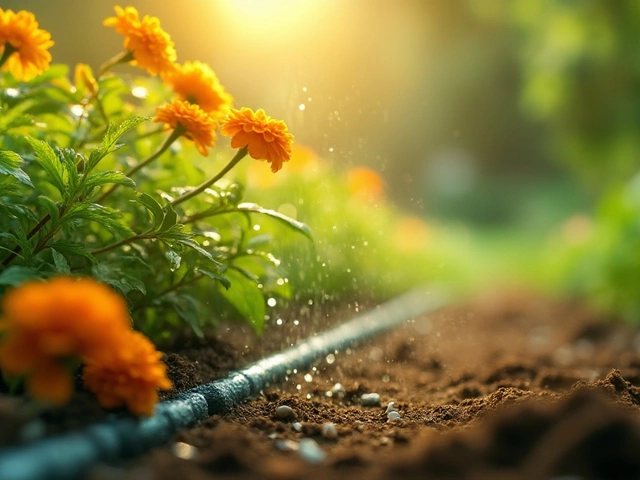
First off, the main brag: people see up to 50% water savings compared to regular sprinklers. This is especially true in dry areas or places with strict watering rules. Your plants get water right at their roots, not spraying all over the pavement. This helps reduce weeds (since you’re not watering everywhere), and your leaves don’t get wet, so there’s less chance for diseases.
But here’s the catch—those benefits mean more when you’re working with larger gardens or expensive crops. For a tiny backyard patch or just a few pots, the money and hassle might not add up. Drip systems need regular checks for leaks and clogs. Even a single missed filter cleaning can mess up your whole setup. If you’re not ready for some hands-on work, the system might end up being more of a pain than a help.
Upfront costs can also sneak up on you. A basic starter kit can run from $30 to $100, but larger setups with timers and filters easily push into the hundreds. And you’ll probably shell out more for replacement emitters, tubing, and extra connectors as things wear out with sun and use.
| System Size | Starter Kit Cost (USD) | Annual Maintenance (USD) |
|---|---|---|
| Small Garden (under 200 sq ft) | $30-$70 | $15-30 |
| Medium Garden (200-500 sq ft) | $70-$200 | $30-50 |
| Large Garden (500+ sq ft) | $200+ | $50-100 |
Here’s a simple tip: if you already fight with salty or dirty well water, drip pipes clog even faster. Filters can help, but that means another chore and cost. My friend tried to skip the filter, and their emitters lasted barely a month before drying up. That’s why folks often recommend using a filter right out of the gate—believe it or not, the upfront pain saves headaches later.
So, is drip irrigation worth it? If you care about saving water, are ready to keep an eye on your system, and your garden is big enough to notice a difference—yes, it can be a game changer. But if you don’t want to fuss with checking emitters, replacing lines, or dealing with leaks, you might be happier with something lower maintenance. Every garden and gardener is different, so measure your patience as well as your crops.
Smart Solutions and Workarounds
Just because drip irrigation has its annoyances doesn’t mean you’re stuck with them. There are practical fixes—stuff you can actually do—to keep things running smoother and make the whole setup less of a pain.
The first issue people hit is clogging. You can fight this by adding a filter right where the water enters the system. Go for a disc or screen filter—these catch most dirt and keep stuff flowing. Cleaning the filter every month is usually enough for home gardens, but bigger setups might need weekly checks. Heads up: flushing the lines now and then also helps. Simply unscrew the end caps, turn on the water, and let it blast out gunk.
Maintenance doesn't have to eat up your weekends. Make a quick checklist for each season. Before spring, check for cracked tubing and worn-out emitters. In late summer, look out for roots growing into the line, especially if you’re in a spot with aggressive plants. A cheap pressure regulator can stop those wild pressure surges that sometimes blow pipes or pop off joints.
- Install a quality filter and flush it regularly.
- Check emitters for blockages once a month (a fine needle unclogs them fast).
- Use pressure regulators to keep water flow steady.
- Replace damaged tubing or connectors as soon as you spot them.
- Shade exposed pipes so the sun doesn't make them brittle.
Worried about the upfront cost? You don’t have to buy a fancy kit. Plenty of folks build their own systems by snagging parts at local hardware stores. I helped a neighbor put together a makeshift drip system with recycled hoses for half what a boxed kit cost. Just make sure the pipe diameter matches your needs, and don’t forget the drip irrigation label for compatible parts.
If you find parts keep failing in one place, try moving the line or swapping out for sturdier pieces. There’s often a weak spot—like where kids step, or where dogs chew—that’s worth reinforcing with flexible or UV-resistant tubing. Last tip: keep spares of the little connectors and emitters. Nothing ruins a Saturday like searching for a one-dollar part when you need it right away.