Drip irrigation is a game changer for maintaining a thriving garden with minimal water wastage. Imagine nurturing your plants with a consistent moisture level directly to their roots, reducing evaporation and runoff. While some may consider it a daunting DIY project, installing a drip irrigation system can be both fulfilling and accessible.
Before getting your hands dirty, it's important to understand the basics of how these systems work. Then, with a bit of planning and a few essential tools, you'll be well on your way to creating a sustainable watering solution for your green paradise. Dive in to find out how you can successfully install a drip irrigation system yourself, turning your garden into a more eco-friendly environment.
- Understanding Drip Irrigation Systems
- Essential Tools and Materials
- Pre-installation Planning
- Step-by-step Installation Process
- Troubleshooting and Maintenance
- Benefits of DIY Drip Irrigation
Understanding Drip Irrigation Systems
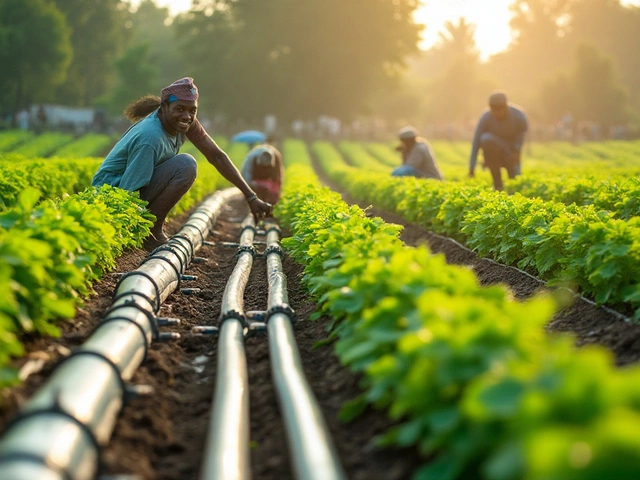
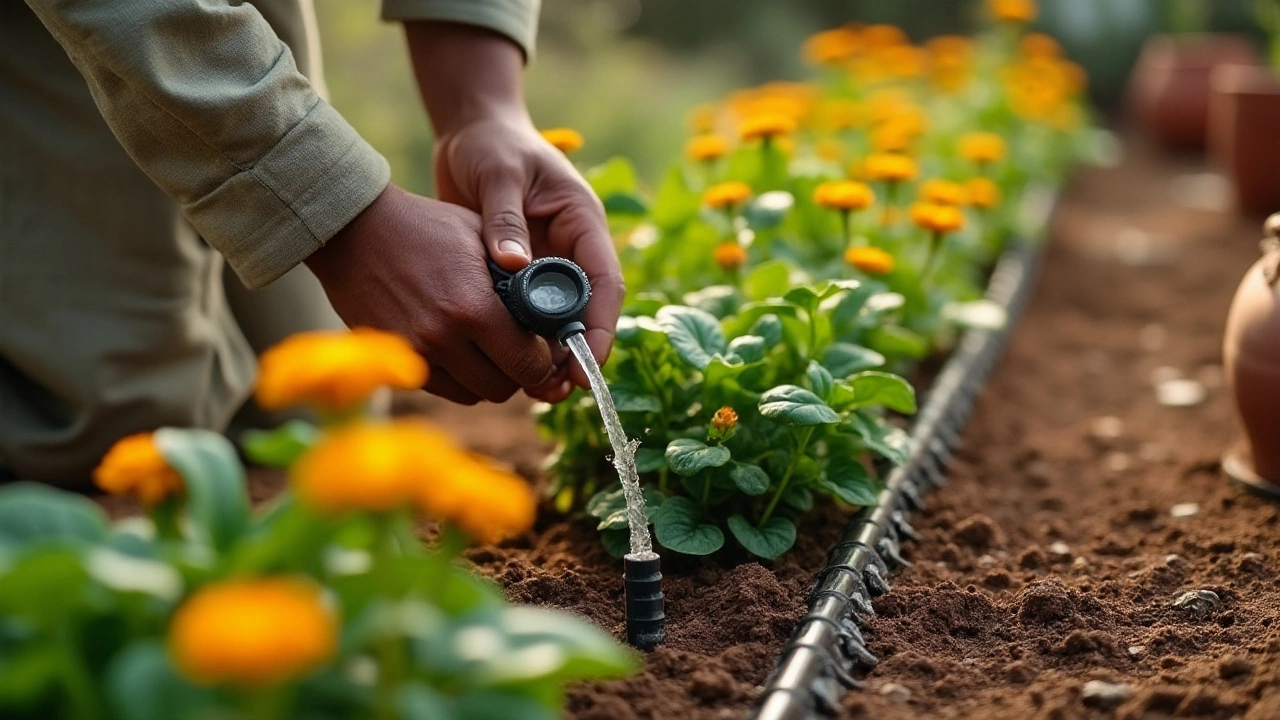
A drip irrigation system operates on a simple yet innovative principle of delivering water directly to the roots of the plants. Instead of spraying water over the entire garden, drip systems use a network of tubes and emitters to release a steady drip of water exactly where it's needed most. This targeted approach is incredibly efficient, as it ensures that plants receive the water they need without unnecessary wastage from evaporation or runoff. In fact, studies show that drip irrigation can save up to 50% more water compared to traditional sprinkler systems. This makes it an ideal solution not only for maintaining a lush, healthy garden but also for supporting water conservation efforts in areas where water scarcity is a concern.
The basic components of a drip irrigation system include the mainline tubing, smaller distribution tubes, emitters, and filters. The mainline tubing serves as the backbone, carrying water from the source to the distribution tubes. These tubes then branch out, guiding water directly to the base of each plant via emitters, which control the flow rate. A filter is crucial at the point where water enters the system, preventing clogging by keeping debris out of the tubes. Moreover, pressure regulators may be used to ensure that the system operates at optimal efficiency, as excess pressure can lead to ruptured tubing or inconsistent drip rates.
"The adoption of drip irrigation technology around the globe has been a pivotal development in sustainable agriculture," says Dr. Henry Solon, an expert in agricultural engineering. "By mimicking the natural irrigation process of dew and micro-rainfall, drip systems promote healthier plant growth and substantially increase crop yield."
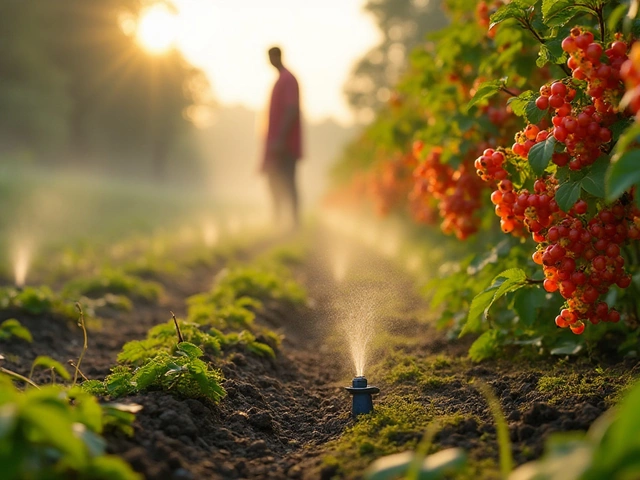
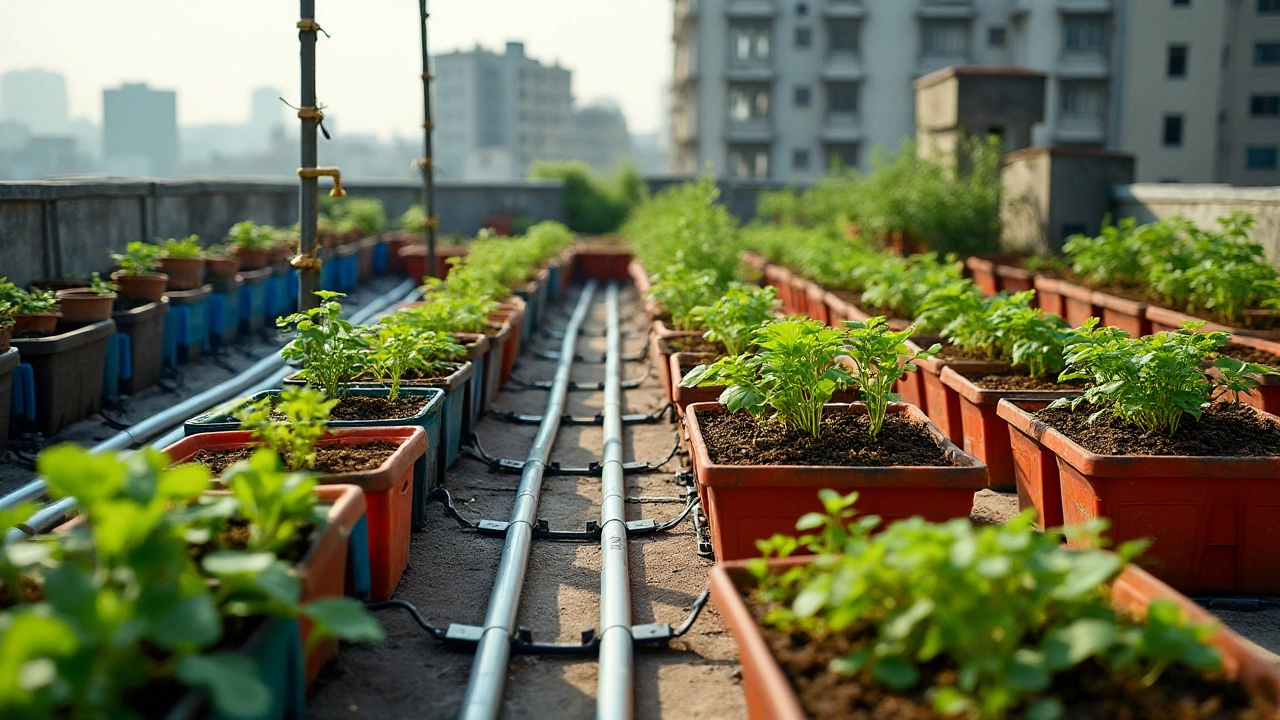
Many gardeners appreciate the versatility that drip irrigation offers. It can be adapted to fit gardens of varying sizes and is suitable for a diverse array of plants, from vegetables and herbs to ornamental shrubs and trees. Adjustments can easily be made to tailor the watering schedule to the needs of different plant types by selecting appropriate emitters and using timers. An interesting fact is that drip irrigation is particularly beneficial in sloped gardens where water tends to pool or quickly runoff; drip systems allow water to be released slowly, giving the soil ample time to absorb moisture.
Another noteworthy advantage is the significant reduction in weed growth. By concentrating water directly at the root zone of the desired plants, less moisture is accessible to weeds that might otherwise thrive in damp, open soil. This naturally limits the presence of weeds, simplifying garden maintenance considerably.
In terms of costs, drip irrigation systems are an investment that pays off in the long run. While the initial setup might require time and resources, the benefits of reduced water bills and healthier plants make it a financially viable option. A survey by the Environmental Protection Agency supports this, with findings indicating that homeowners using drip systems reported substantial savings on their water bills, in some cases up to 30%. The effectiveness of drip irrigation in conserving water while providing plants with optimal care underscores its value as a forward-thinking irrigation solution.
Essential Tools and Materials
Before embarking on your DIY irrigation adventure, it's crucial to gather all the essential tools and materials for a smooth installation process. These tools aren't just random items you can grab from your dusty tool shed; they are the key to a well-functioning drip irrigation system that will save you hours of manual watering. First, you'll need a high-quality hose or tube that serves as the backbone of the system. Tubing is generally made from polyethylene, known for its durability and flexibility, perfect for weaving through your garden paths. Consider the length you might need, as well as the diameter, which typically ranges from 1/4 inch to 1/2 inch, allowing ample flow rate for your needs.
Another indispensable item on your list is the drip emitters. These small, often colorful devices come in various flow rates and designs to suit a range of plant types. Emitters release water slowly into the soil, mimicking natural rainfall. When selecting emitters, aim for those providing a flow of 0.5 to 2 gallons per hour for standard garden beds. Don't forget the connectors, tees, and elbows, too, as they'll help navigate your water lines around obstacles like large stones or trees. Equally crucial is a pressure regulator as drip systems function optimally under low pressure. Too much pressure might cause your system to burst, transforming your garden into an unintended water park. According to the Garden Water Saver publication, "A pressure regulator is not a luxury; it's a necessity in drip irrigation setups."
Filters are another component worth discussing. Even if your water source appears pristine, minute debris can clog up emitters over time. Invest in a good filter to maintain your system’s longevity. Landscape staples or stakes will ensure your tubing stays put, especially against the whims of wind and curious animals. You wouldn’t want your carefully plotted lines to shift unpredictably, leading to uneven watering. A handy pair of garden scissors or tube cutters is essential to neatly snip and adjust tubing to your desired length, while a punch tool will allow you to easily create holes in the main line for inserting emitters. Consider including essential knowledge resources or manuals that offer step-by-step guidance to ensure you feel confident in each part of the process. A set of gloves might also be worth considering; while setting everything up, you don't want to get caught in a prickly situation!
Here's a useful list of the primary tools and materials you'll need:
- Polyethylene tubing (1/4 inch to 1/2 inch in diameter)
- Drip emitters at various flow rates
- Connectors, tees, and elbows
- Pressure regulators
- Water filters
- Landscape staples or stakes
- Garden scissors or tube cutters
- Punch tool
- Gardening gloves
All these components come together to form an efficient drip irrigation system, capable of revolutionizing your garden watering approach. Together, they set you on the path towards sustainability, offering your plants precisely what they need to thrive. Each tool and material has a specific role, and skipping even one could compromise the system's effectiveness. For those looking to dive a bit deeper, it might be interesting to compare different brands or types of emitters and tubing based on reviews and community feedback. Doing so can help tailor your setup to meet the unique requirements of your garden, further enhancing water efficiency and plant health. Remember, investing a little time in sourcing the right materials will pay dividends when your garden flourishes under its new, streamlined watering regime.
Pre-installation Planning
Before diving into the installation of a drip irrigation system, detailed pre-installation planning is critical to ensure a smooth setup process and long-term efficiency. One must start by assessing the specific watering needs of their garden. Consider the types of plants you have, as different plants require varying levels of moisture. Map out your garden to categorize plants with similar watering needs, making it easier to design an effective watering plan. Understanding the layout of your garden will guide you in determining where and how long the irrigation lines need to be.
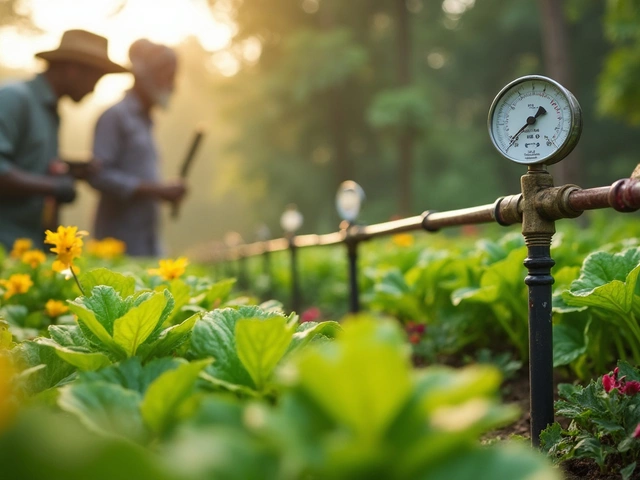
Next, a water source is paramount to identify. The proximity of this source plays a critical role in the planning stage. It's essential to ensure that your water source can support the pressure and volume required for a drip system. Gardens situated far from a water source might require additional equipment like pumps to maintain constant pressure. Always measure the water pressure at the source using a pressure gauge, as most drip irrigation systems operate optimally between 15 to 30 PSI. If your garden's water pressure exceeds or falls below this range, consider installing a pressure regulator or an adequate pump.
Now, let’s talk about soil, since it greatly impacts the irrigation plan. Different soil types absorb and retain water differently. For instance, sandy soil requires more frequent watering with shorter durations to prevent leaching, whereas clay soil demands slower, less frequent watering to prevent runoff. As such, understanding your soil composition will aid in selecting the right type of emitters to use. You may even run simple tests to determine your soil type, such as a jar test or feel method. Having detailed knowledge of your soil ensures efficient water distribution tailored to your garden's needs.
Design Layout
Effectively planning your DIY irrigation system involves meticulous design layout. Draw a scaled sketch of your garden, indicating the positions of each plant. This layout serves as a reference when determining the positioning of your irrigation lines. Take note of any obstacles like large rocks, garden benches, or pathways that could impede the straight path of the tubing. Decide whether you'll need a single-zone or multiple-zone system, which often depends on the size of your garden and varying plant water requirements.
"Good planning is even more important than the work itself," says Elisa from Green Thumb Gardening Magazine. "A well-thought-out irrigation plan can save avid gardeners countless hours and resources."
When planning, allocate enough parts for each segment. Drip irrigation kits are commercially available and often include emitters, tubing, connectors, and stakes. However, buying individual parts may allow for more customization, depending on the complexity of your garden's layout. Measure the linear feet required for your irrigation tubing carefully. Rounding up is always wise to avoid shortages during installation, which could halt your progress mid-project.
| Component | Function |
|---|---|
| Emitter | Controls the speed and amount of water delivered to each plant |
| Tubing | Carries water from the source to the emitters strategically placed throughout the garden |
| Connector | Joins various segments of irrigation tubing |
| Stake | Secures tubing in place, ensuring stability during weather changes |
A cost estimate is another integral part of planning. A typical small garden drip irrigation setup might cost anywhere from $50 to $200, but more extensive or complex systems could exceed this range. Consider making a detailed list of all materials required and gather quotes from different suppliers. This endeavor not only ensures you remain within budget but also assists in avoiding unnecessary expenses.
Step-by-step Installation Process
Embarking on the task of installing a drip irrigation system in your garden may seem a bit daunting at first, but breaking it down into manageable steps can ease the process significantly. The first step in your installation journey involves creating a solid plan. Take time to walk through your garden, envisioning where the water lines will run. It's essential to sketch a rough map indicating the location of your plants and the preferred route for your drip lines. Once you've mapped out the plan, mark the area with stakes or string, which will help you visualize the layout more clearly and ensure that each plant is adequately covered.
With your plan in hand, gather all the necessary tools and materials. You'll need tubing, emitters, connectors, and a timer, as well as a few common items like a pair of scissors or a tubing cutter. Installing a water filter is advisable to prevent clogging, especially if you rely on a well or use untreated water. Begin by attaching the main supply line to your water source. If your faucet doesn't come with a backflow preventer, install one first to protect your water supply from contamination.
A good quality backflow preventer can be a garden savior, ensuring safe and clean irrigation - Green Gardening Magazine
After securing the backflow preventer and filter, lay out the main tubing along the routes you marked. Cut the tubing to size as needed and use connectors to join different sections. Ensure that each connection is watertight by gently tugging on the connected parts. When you reach a planting area, attach smaller drip lines branching off from the main line. As you install each line, secure them with stakes to hold them in place and prevent them from being disturbed by weather or curious animals.
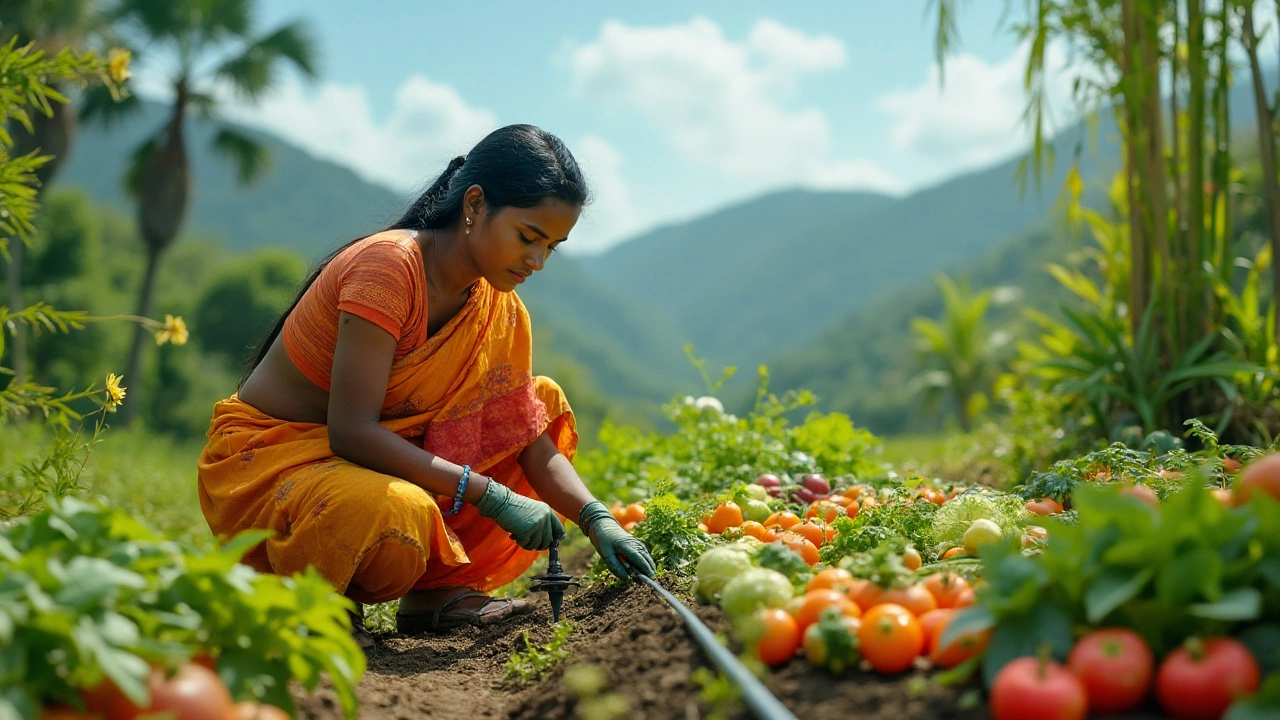
Once all lines are set, it's time to install the emitters. Emitters can vary in flow rate, and it's important to match them to the water needs of each plant. For thirsty crops like tomatoes, you might want high-flow emitters, whereas, for succulents, low-flow ones will suffice. Test the system after all emitters are in place by turning on the water supply. Check for leaks or dry spots and adjust the system as needed. Lastly, set your timer for how frequently you want the water to run, keeping in mind the specific watering requirements of your garden.
Throughout the process, be patient and meticulous—small oversights can lead to larger issues over time. Regular maintenance and timely adjustments will keep your drip irrigation system running smoothly, allowing you to enjoy a bountiful and well-watered garden without excessive water usage.
Troubleshooting and Maintenance
Maintaining a drip irrigation system isn't just about keeping it running efficiently; it's about ensuring your garden receives the optimal amount of water it needs to thrive. Regular check-ups can prevent small issues from turning into costly repairs. Many gardeners find that a bi-monthly inspection can catch the early signs of wear and tear. Start with a visual inspection of the entire system, looking for any obvious leaks or clogs. Leaks are often identified by water pooling in specific areas or uneven wet patterns along the tubing. Clogs, on the other hand, can be trickier and necessitate testing each emitter for consistent flow.
Common issues with drip irrigation include clogged emitters, leaks, and pressure drops. Clogged emitters are often caused by debris or mineral build-up in the water, which can obstruct the water flow. One effective remedy is to soak emitters in a vinegar solution or replace them if cleaning is insufficient. Leaks usually show up at connection points, especially if the system was assembled quickly or without proper sealing techniques. Pressure drop across the system may indicate a need to check the pressure regulator or for leaks that are not immediately visible.
Clog Prevention and Emitter Care
To keep your DIY irrigation system functioning properly, periodic flushing of the entire system can help clear out any accumulated sediment. This is a simple process that can significantly extend the life of your drip lines. During prolonged droughts or high heat, increase the frequency of flushing to prevent salt deposits. “Maintenance is the backbone of sustainable garden management,” advises horticulturist Dr. Laura Hamilton.“Regular care ensures that small problems don’t turn into big headaches, allowing you to maintain a healthy, beautiful garden all year round.”
Seasonal Adjustments and Repairs
As seasons change, so do the water demands of your plants. You might find yourself needing to adjust the water flow. During peak growing seasons, you may increase the water allowance, whereas in dormancy periods, the system might be switched off entirely. Repairs are an inevitable part of any DIY irrigation system's life cycle. Having spare parts handy can cut down on downtime and save your plants from dry spells. It’s wise to keep extra tubing, connectors, and emitters. Suddenly encountering strange noises in your lines might indicate air pockets or obstructions; these can usually be resolved by releasing water through an open terminal point until the flow normalizes.Monitoring System Efficiency
Consider investing in a water flow meter to track your system's efficiency over time effectively. This device can help identify any long-term trends in water usage that may need addressing. A table below shows average water savings with drip irrigation compared to other systems:| Type of Irrigation | Average Water Savings |
|---|---|
| Drip Irrigation | 50%-70% |
| Sprinkler System | 30%-50% |
| Traditional Hose | 0%-10% |
By staying vigilant and proactive, you ensure that your garden remains lush and thriving, offering considerable savings and a sense of accomplishment. Always remember that your DIY irrigation project is a living component of your garden that requires attention, just like the plants it nourishes.
Benefits of DIY Drip Irrigation
Installing a drip irrigation system on your own isn't just an exercise in resourcefulness but also a step toward sustainable gardening practices. One of the most significant advantages of this system is its efficiency in conserving water, ensuring your garden stays hydrated while minimizing waste. Unlike traditional watering methods that often lead to excessive runoff and evaporation, drip irrigation delivers water directly to the plant roots. This precision not only saves water but also promotes better plant health by keeping leaves dry and reducing the risk of diseases.
Another appealing aspect of a DIY irrigation setup is the cost savings. Hiring professionals can drive up expenses, but doing it yourself with guidance can cut costs significantly. You'll have the freedom to customize the system based on your garden's specific needs, allowing you to tackle unique challenges your garden might present. Many DIY enthusiasts enjoy the opportunity to innovate and experiment with various configurations to optimize their garden's hydration.
Moreover, managing your own irrigation project provides a sense of accomplishment and empowerment. You're not just a gardener; you're a builder, crafting a solution that brings tangible benefits to your environment. Understanding the mechanics behind your garden watering process can lead to better maintenance and fewer costly repairs, as you'll be adept at identifying and fixing any issues that arise.
According to Dr. Linda Chalker-Scott, a renowned horticulturist, "Drip irrigation systems can reduce water usage by up to 70% and increase yields by up to 90% when compared to traditional watering methods." This statistic underscores the potential impact of switching to this efficient system. For many gardening enthusiasts, the idea of implementing a DIY system is not only practical but also a proactive measure towards eco-friendly gardening.
One also can't overlook the flexibility that a DIY irrigation system offers. Whether you're nurturing a small vegetable patch or cultivating a vast backyard oasis, a custom system can adapt and grow with your gardening needs. As seasons change, you'll appreciate the ability to tweak and adjust the delivery of water, ensuring that each plant receives the right amount, regardless of the weather conditions.
To wrap it up, the move towards a DIY drip irrigation system embodies a blend of creativity, increased environmental awareness, and financial prudence. Every garden is unique, and with your own hands configuring its irrigation, you'll not only improve plant health but enrich your own understanding of the delicate balance of nature. So, when you're considering ways to enhance your DIY irrigation approach, think of it as both a practical investment and a journey in mastering the art of self-sustained gardening.