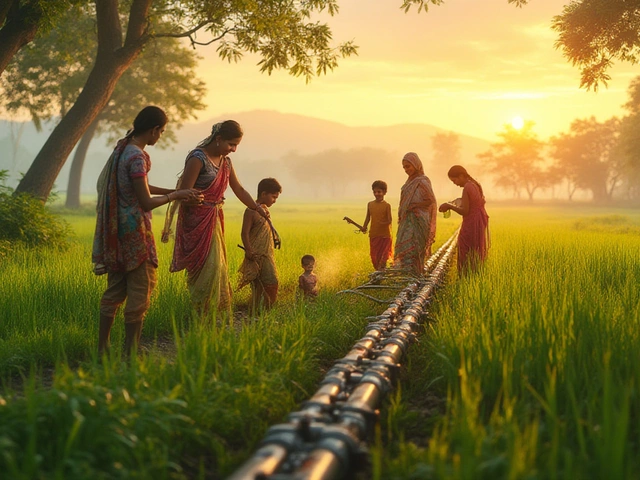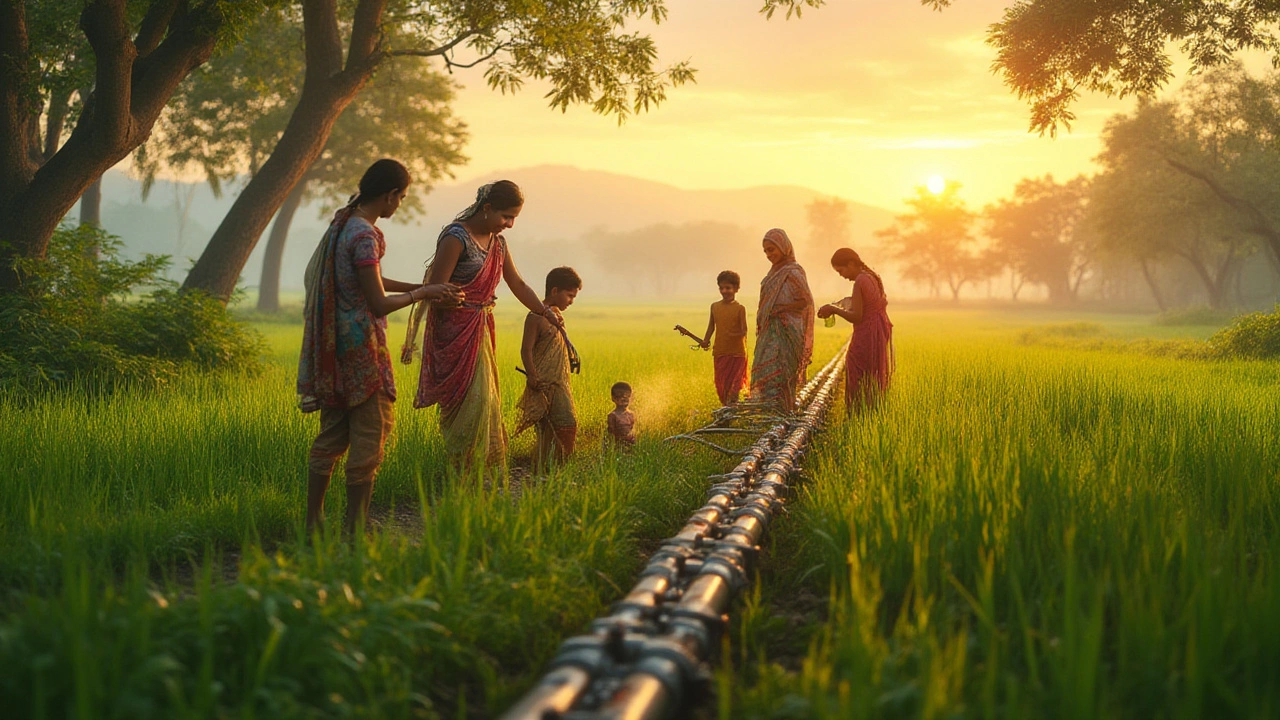
Picture this: you’ve just put the last clip on your shiny new drip irrigation system. The garden looks ready for a dry summer, your plants are smiling, and you’re feeling clever. But in the back of your mind, one question nags at you: is this system going to give up in a year, or can you count on it for a decade? The answer—it’s not as simple as reading the label. Manufacturers might talk about 10- or 15-year pipedreams, but what really counts is how you treat it, what British weather throws at you, and which materials you’ve chosen. Let’s break down the real deal behind drip irrigation lifespan, peel back the curtain on what usually goes wrong, and make sure you’re not replacing tubing every two years.
What Determines the Lifespan of Drip Irrigation?
People talk about drip irrigation as a set-and-forget solution, but it’s more like having a dog than a goldfish—it needs care. Materials are the main actor here. Factory-grade polyethylene tubing, which is the backbone of most systems you’ll find at the garden centre, is expected to last eight to 12 years, if left in a temperate climate. In hotter spots or exposed beds, expect less. Your connectors, emitters, and filters usually have a shorter shelf life: those tiny bits can get brittle under UV, blocked with dirt, or chewed by garden wildlife desperate for a midnight drink.
Water quality is another secret villain. Hard water isn’t your friend here; the more minerals floating around, the quicker emitters clog and become useless. Even city water can be trouble if it’s loaded with debris. If you’re using rain barrels or pond water, you must double down on filtration. Unfiltered water will quickly cut the life of your system in half or more, especially emitters and inline driplines.
And let’s talk pressure. Most home gardens in Manchester aren’t dealing with massive surges, but if your system runs off a pump instead of a gentle tap, you’ll want to check you’re not blowing the pipes apart. Run on high pressure, and plastic parts can split, causing leaks and wasting water. Consumer-grade systems are usually only rated for 1-2 bar (15-30 psi). Go above that and you’ll be replacing parts every year.
UV exposure is no small thing, either. British sun isn’t as fierce as in Spain, but every extra hour of sunlight will take some years off your tubing. Black polyethylene has UV resistance mixed in, so never buy the clear stuff. If your garden gets roasted for much of the day, burying the pipes under mulch helps keep UV—and accidental mower strikes—at bay.
Your installation habits matter just as much as what the catalog promised. Tight bends, kinked tubes, haphazard stakes that poke through the lines, and skipping the filter all add up to a much shorter lifespan. So don’t rush—slow and steady wins this game. If you’ve slapped the system together, odds are you’ll be back with the credit card soon.
Average Lifespan Expectations: What the Numbers Really Mean
So, what are you really looking at for drip irrigation lifespan? You’ll see claims of 10, 15, even 20 years thrown around, but reality is less generous if you’re not a maintenance nut. Most UK gardeners get 7 to 10 good years from the main tubing with light use and no major mishaps. If you look after your system (think flushing, avoiding direct sunlight, using filters), you can possibly stretch it to 15 years—especially if you aren’t making big changes each year.
Emitters and drip heads usually run out of steam faster. After just two or three growing seasons, you’ll probably notice a few drippers clogged, dripping at half-speed, or totally blocked. This is normal. Bag of spare emitters in the shed is a must-have to swap dead ones out every spring. Cheap punch-in connectors might only last two or three years before they become leaky or crack. Invest in proper UV-stable fittings (look for thick rubber seals and reputable brands) if you want to avoid yearly headaches.
Subsurface drip lines—those you bury to target roots directly—have a slightly shorter life in general gardens, averaging 5 to 8 years. Why? Tree roots sneak in, rodents nibble, and it’s harder to spot leaks beneath the surface. For above-ground lines protected by mulch, 10 to 12 years is achievable with light use and careful winter storage.
Commercial operations or obsessive home gardeners using premium gear might get closer to 15+ years. Pro systems with pressure regulators, top-notch filters, and automated flushing are built for long hauls. For most of us, though, you’re looking at a solid run of around a decade—assuming you don’t forget about winter freezing (which can make pipes split and burst from trapped water).
Reality check: annual maintenance strongly influences the real lifespan. A system ignored for years, clogged with limescale and detritus, will never reach the advertised lifespan. Give your system a bit of TLC once or twice a year, and you’ll double its working life. It’s like getting an MOT for your car—nobody loves it, but skipping means big bills down the road.
Tips to Make Drip Irrigation Last Longer
So, how do you get the most years out of your investment? There’s no wizardry—just a few smart moves. First off, install a disk or screen filter right after the tap. Even if your water looks clean, tiny bits of sand, rust, or chipped stone love to sneak into emitters. Clean the filter every couple months—or sooner if you notice drippers sputtering.
Winter is enemy number one in Manchester. Make it a habit to flush the system in autumn, disconnect pipes and heads, and drain them well. Pop them in a shed or garage where they won’t freeze, and you’ll avoid discovery of split tubing come spring. Freezing water expands and cracks pipes silently, and you’ll only notice failure when plants start wilting.
Keep the tubing protected from the sun wherever possible. Mulch does double duty: it holds moisture for plants and shields your irrigation from UV. Stones or decorative bark can work too, as long as pipes aren’t pinched or bent.
Don’t ignore repairs. Any visible leak or drop in flow means something’s blocked or broken. Fix it now, not at the end of the season. Carry a repair kit: a few connectors, clamps, spare drippers, and joiners. Swapping a split section or blocked dripper takes minutes and stops bigger headaches later.
If you see white crusts forming around emitters, it’s probably limescale from hard water. Soak those bits overnight in vinegar to break it up, rinse well, and pop them back in. For stubborn blockages, use a pin or thin wire (carefully!) or just replace the emitter.
Set a calendar reminder to walk the system every two weeks in peak growing season. You’ll spot leaks, new weed blockages, or animal mischief early. And don’t be shy about swapping emitters or connectors before they fail—you’ll keep things ticking along with less drama.
If you’re adding new sections or moving lines, avoid tight kinks and sharp bends. Curves should be gentle, not elbowed, to stop stress fractures. Secure pipes with proper pegs or stakes so wind or animals can’t yank them out. And if you’re running long lines (over 25 metres), use thicker tubing—it’ll handle pressure and resist UV better.
One more simple but overlooked tip: use pressure reducers, especially if you add a timer or pump. Keeping the water at the drip irrigation system’s rated pressure is the single best way to prevent burst tubing and extend its years of faithful service.
Signs You Need to Repair or Replace Your Drip System
Even the best-loved system throws in the towel eventually. So, what should you look out for? If parts look faded, brittle, or snap from gentle pressure, they’re overdue for replacement. If you’re seeing patchy watering—some plants limp, others soaked—chances are emitters are clogged or lines are leaking. Spotty growth in beds is a dead giveaway in summer.
Check for puddles and mini-geysers when the system runs. Persistent soggy spots usually point to splits or cracked connectors. If sections of tubing collapse or feel soft and gummy, they’ve probably been hit by UV for too long and the plastic is giving up. Any green fuzz (algae) inside clear tubing is a sign it’s letting in too much light and should be swapped for black polyethylene immediately.
If your water bill jumps or the barrel drains faster than expected, hunt for hidden leaks, especially in buried sections. Walk the lines during a run and squeeze gently here and there—water bubbling out means a split under mulch or soil. Older emitters can start to fail together, so don’t be shy about replacing all the drip heads on a ten-year-old line. Think of it like changing spark plugs on an old car—it’s cheap insurance.
Electronic timers and battery-run controllers are often the first bits to go, especially after two or three wet British winters. Test batteries every spring and swap timers that show inconsistent cycles or failure to switch on.
If repairs start to outnumber weeks in the season, it’s time to gut the system and start fresh. The average UK garden can be re-plumbed with new tubing and drip heads in about a day or two, using modern push-fit connectors and self-cleaning emitters. Take it slow and do it right—you’ll save frustration and water for years ahead.
Finally, don’t let the system get banished to the back burner. Spend a few hours on it each year, and you’ll have a drip system to brag about long after your neighbour’s sprinklers have rusted out. Consistent maintenance, smart installation, and a keen eye for warning signs are the recipe for that ten-years-and-still-going garden watering setup we all dream of.