DIY Soil Mix Calculator
Select a plant type and volume, then click Calculate.
Buying bags of premium potting mix every spring can drain your wallet faster than a leaky hose. You’re paying for peat moss that’s often shipped from halfway across the world, plus a markup for convenience. But here’s the secret most garden centers won’t shout about: DIY soil mix is not just cheaper; it’s often healthier for your plants because you control exactly what goes in. If you’ve ever looked at your soil and wondered why your tomatoes are struggling or your houseplants look sad, the answer usually lies in the dirt itself. Making your own soil isn’t complicated science-it’s mostly cooking with earth.
The Core Recipe: The 1-1-1 Rule
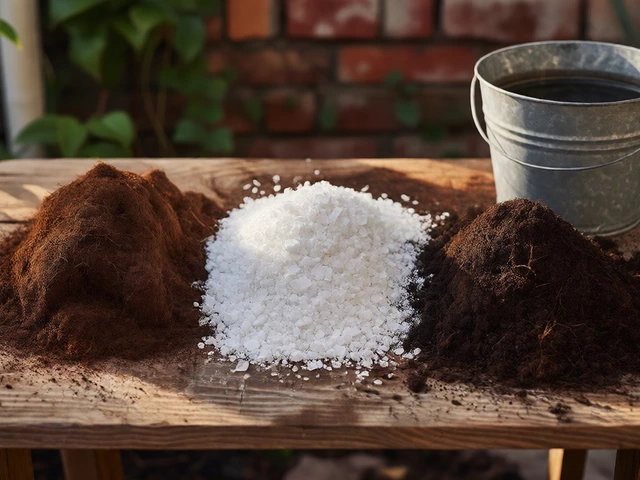
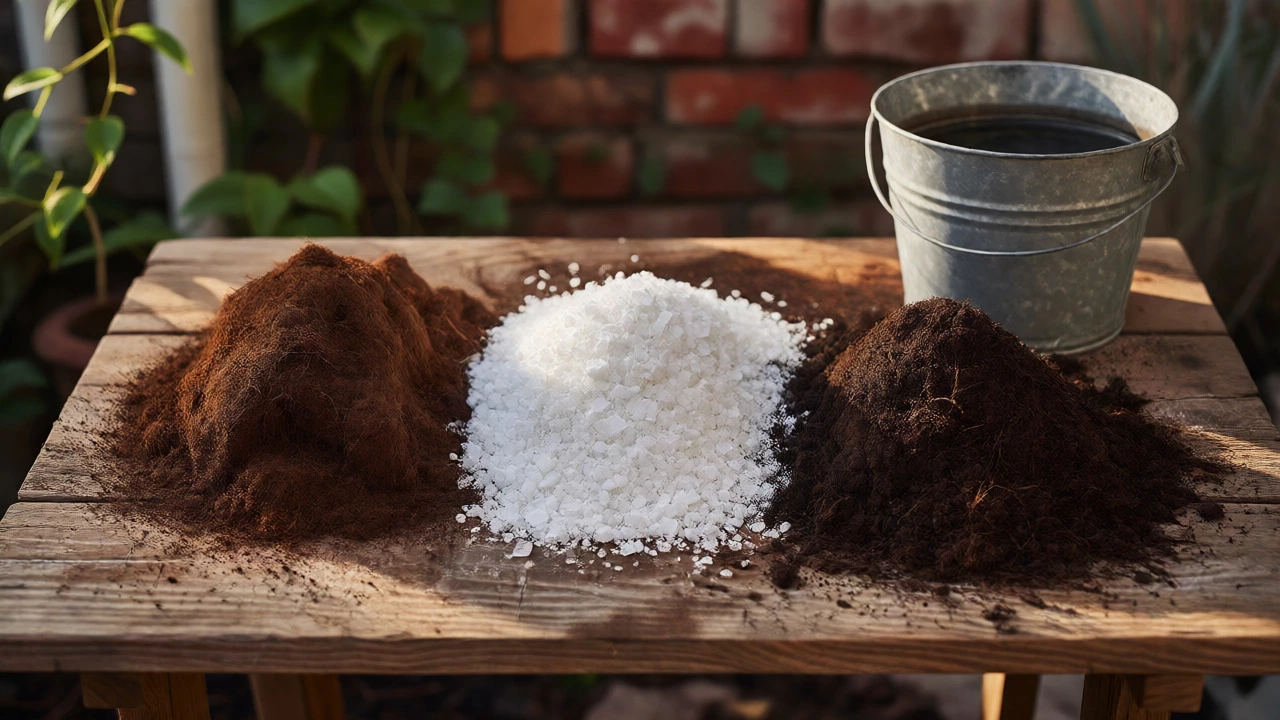
Before you start digging up the backyard, you need a baseline. The gold standard for homemade growing medium is the "Mel's Mix" approach, popularized by Square Foot Gardening, but simplified for general use. It relies on three equal parts by volume:
- Peat Moss or Coco Coir: This holds moisture and keeps the soil light. Peat is acidic; coco coir is neutral and renewable.
- Vermiculite or Perlite: These minerals prevent compaction and help roots breathe. Vermiculite holds more water; perlite drains better.
- Compost: This is the engine. It provides nutrients and beneficial microbes.
Why does this work? Each component solves a specific problem. If you just use dirt from your yard, it might be too heavy (clay) or too sandy. By mixing these three, you create a structure that retains enough water without drowning the roots. In Manchester, where rainfall is frequent, leaning slightly heavier on perlite in your outdoor pots helps prevent root rot during those long, wet autumns.
Sourcing Ingredients Without Breaking the Bank
The biggest cost barrier is usually the amendments. Here is how to source them cheaply, specifically if you are in a place like the UK or similar temperate climates.
Coco Coir vs. Peat Moss: Peat moss has been the traditional choice, but it’s controversial due to environmental concerns regarding peat bog destruction. Coco Coir, made from coconut husks, is a sustainable alternative. It costs roughly £5-£8 for a compressed brick that expands into several liters of material. Unlike peat, it doesn’t repel water when dry, making it easier to re-wet if you forget to water your balcony pots.
Perlite and Vermiculite: These are mined minerals. Perlite looks like white styrofoam balls; vermiculite looks like golden flakes. A large bag of perlite at a local hardware store might cost £10-£15, but it lasts years because you only use a small fraction per batch. Vermiculite is slightly more expensive but holds nutrients better. For indoor plants, vermiculite is often preferred because it reduces watering frequency.
Compost: This is where you save the most money. Don’t buy bagged compost if you have space for a bin. Kitchen scraps, coffee grounds, eggshells, and fallen leaves break down into rich humus. If you don’t have a garden, check community allotments or local council green waste recycling centers. Many offer free or heavily discounted screened compost to residents.
Step-by-Step Mixing Process
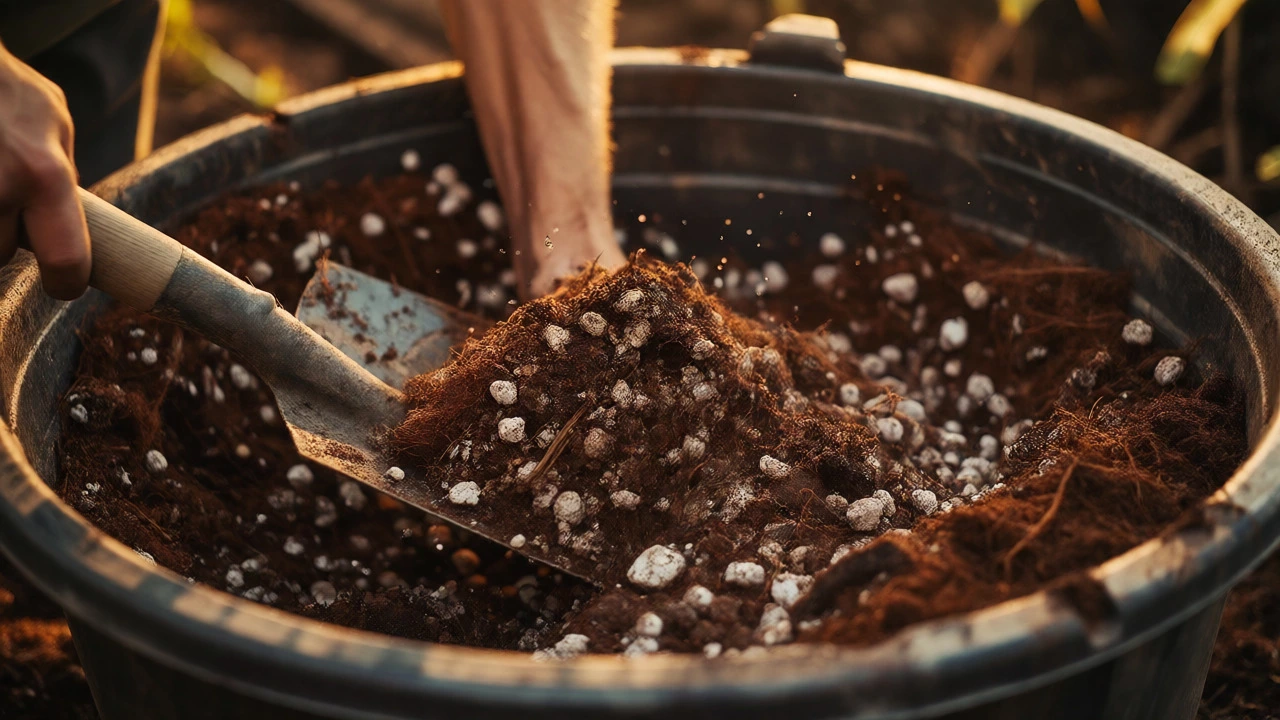
Mixing soil sounds messy, but with the right setup, it’s manageable. You don’t need a cement mixer unless you’re doing huge batches. A sturdy wheelbarrow or a large plastic tub works fine.
- Hydrate Dry Ingredients: If using coco coir bricks or dry peat, soak them first. Let them sit until fully expanded and moist. Mixing dry dust creates a mess and uneven distribution.
- Measure by Volume, Not Weight: Use a bucket as your measuring tool. One bucket of coir, one bucket of perlite, one bucket of compost. Consistency matters more than precision.
- Add Nutrients Early: Pure coir and perlite have zero nutrients. Your compost provides some, but it depletes over time. Add slow-release organic fertilizer now. Bone meal adds phosphorus for roots; blood meal adds nitrogen for leaves. Worm castings are excellent if you can get them cheaply-they add microbial life without burning plants.
- Mix Thoroughly: Use a shovel or hoe. Turn the pile over multiple times until the color is uniform. If you see clumps of compost or pockets of perlite, keep mixing. Uneven mixes lead to patchy plant growth.
- Let It Rest: Ideally, let the mix sit for a week before planting. This allows the pH to stabilize and any initial decomposition heat to dissipate. Fresh compost can sometimes "burn" delicate seedlings if planted immediately.
Customizing for Specific Plants
Not all plants want the same soil. Using a one-size-fits-all mix is a common mistake. Adjust your ratios based on what you’re growing.
| Plant Type | Recommended Ratio (Coir/Perlite/Compost) | Key Adjustment |
|---|---|---|
| Vegetables (Tomatoes, Peppers) | 1 : 1 : 2 | More compost for heavy feeding needs. |
| Houseplants (Pothos, Snake Plants) | 2 : 1 : 1 | More coir/perlite for drainage; less risk of root rot. |
| Succulents & Cacti | 1 : 2 : 1 | High perlite/sand content for fast drying. |
| Seedlings | 2 : 1 : 0.5 | Very light mix; low nutrient load to avoid burn. |
For vegetables, you want richness. Doubling the compost part ensures they have fuel for fruit production. For succulents, you want speed-water must pass through quickly. Adding coarse sand or extra perlite prevents the soil from staying soggy, which kills cacti faster than drought does.
Common Pitfalls and How to Avoid Them
I’ve seen many beginners fail with DIY soil because of two main issues: pH imbalance and poor drainage.
pH Imbalance: Most vegetables prefer a slightly acidic to neutral pH (6.0-7.0). Peat moss is acidic (pH 3.5-4.5), while compost varies. If you use peat, you often need to add lime to raise the pH. Coco coir is closer to neutral (pH 5.5-6.5), so it requires less adjustment. Test your soil occasionally with a cheap kit. If your blueberries turn yellow, the pH might be too high; if your brassicas struggle, it might be too low.
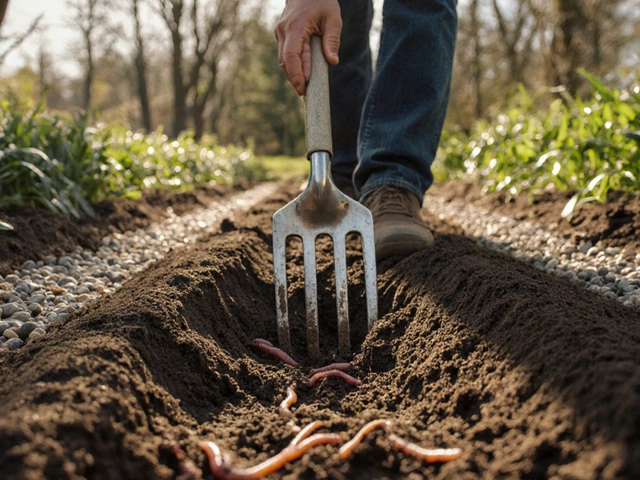
Compaction Over Time: Organic matter breaks down. After a year, your fluffy mix will shrink and become dense. You’ll notice water pooling on top instead of soaking in. To fix this, top-dress your pots with fresh compost in spring or gently fork the surface to aerate. For annuals, replace the mix entirely every two seasons.
Ignoring Sterility: Garden soil contains weed seeds and pathogens. If you dig up native soil and mix it into pots, you might introduce fungus gnats or damping-off disease. Always use sterile components (peat, coir, perlite) for container gardening. Only use native soil for in-ground beds, and even then, amend it heavily with compost.
Is It Worth the Effort?
Let’s do the math. A 50-liter bag of branded potting soil costs around £8-£12. To make 50 liters of DIY mix, you might spend £3 on coir, £2 on perlite (prorated), and £0-£2 on compost (if you make your own). That’s under £7, often much less. But the real value isn’t just monetary. You know there are no hidden fillers like bark chips that haven’t decomposed properly. You know it hasn’t been treated with synthetic fungicides. And you get the satisfaction of turning kitchen waste into food.
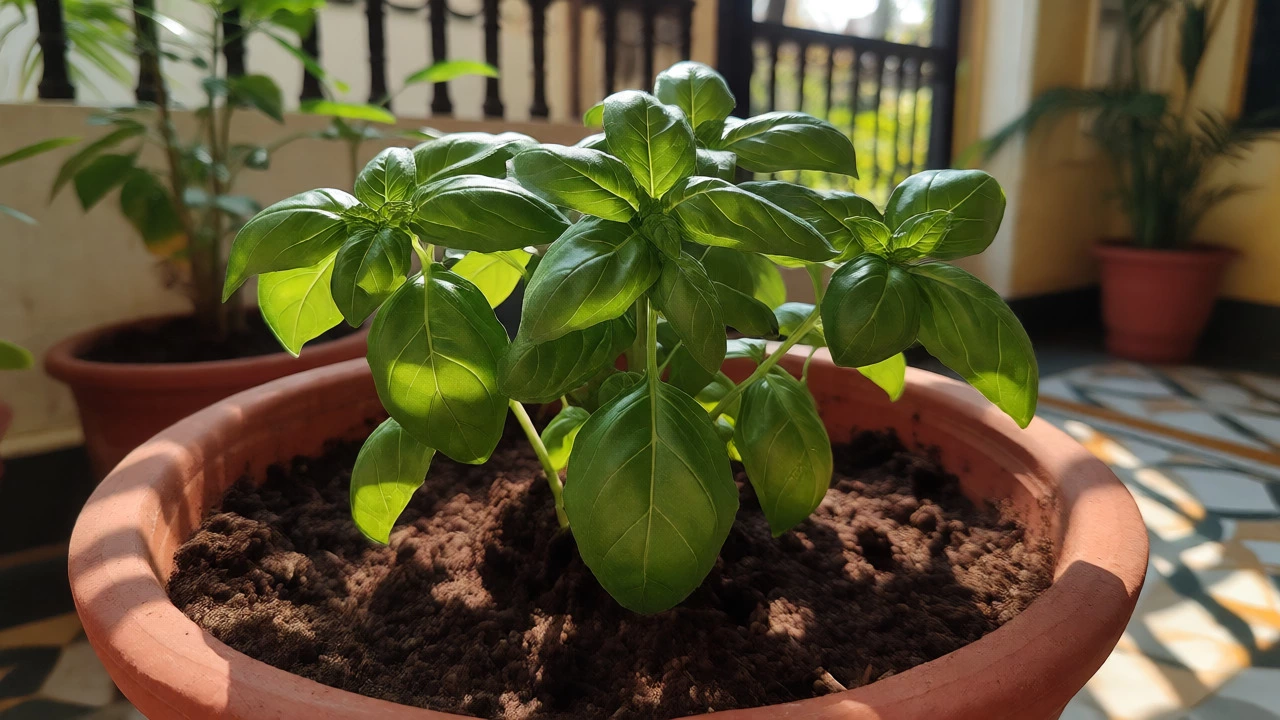
Start small. Try one pot this weekend. Mix a few buckets, plant something hardy like basil or mint, and watch how it grows compared to your previous store-bought efforts. Once you see the difference in vigor, you’ll never go back to buying generic bags again.
Can I use regular garden soil for potted plants?
Generally, no. Garden soil compacts too easily in containers, suffocating roots and preventing proper drainage. It also often contains weed seeds and pests. For pots, always use a lightweight, porous mix like coir, perlite, and compost.
What is the best substitute for peat moss?
Coco coir is the most popular eco-friendly substitute. It holds water similarly to peat but is renewable and has a more neutral pH. Other options include shredded pine bark fines, though these decompose slower and may tie up nitrogen initially.
How often should I change my DIY soil mix?
For annual vegetables, replace the mix every season or refresh it heavily with new compost. For perennial houseplants, repot into fresh mix every 1-2 years. Signs you need to change it include water running straight through without absorbing, or the mix becoming hard and compacted.
Do I need to sterilize homemade soil?
If you are starting seeds indoors, yes, consider pasteurizing your mix by baking it in an oven at 180°C (350°F) for 30 minutes to kill pathogens and weed seeds. For mature plants outdoors, healthy compost usually outcompetes bad bacteria, so sterilization isn't strictly necessary.
Can I add coffee grounds directly to the soil?
Yes, but sparingly. Coffee grounds are mildly acidic and add nitrogen. Sprinkle them thinly on the surface or mix them into compost first. Adding too much uncomposted coffee can temporarily inhibit plant growth due to caffeine content and mold formation.