Ever noticed water pooling on your terrace after rain? That usually means the slope is off—or maybe there's none at all. Even just a lazy half-inch of slope can save you a bucket load of headaches down the road. Water needs a way out, or you risk not only soggy plant pots, but also leaks, stains, and even cracks in the long run.
The minimum slope isn’t some made-up rule. For most terraces, it should be at least 1 to 2 percent. That’s about 1/8 to 1/4 inch of drop per foot—just enough so water can flow toward your drainage point instead of hanging around and causing trouble. Set it right from the start, and you’ll spend way less time squeegeeing puddles or worrying about water damage under your tiles.
- Why Slope Matters on a Terrace
- Recommended Minimum Slope Ratios
- How to Measure and Create the Right Slope
- Common Mistakes and How to Fix Them
- Extra Tips for Drainage in Terrace Gardens
Why Slope Matters on a Terrace
It’s tempting to think a flat terrace will look sleek and modern, but that kind of perfection doesn’t work for water. Even small amounts of rain, irrigation, or spilled drinks need somewhere to go—otherwise, you’re just inviting mess and long-term problems. The minimum slope isn’t about looks but about pure function: without the right tilt, water sits where it lands, and that’s when things can start falling apart.
If water doesn’t drain off quickly, you’ll start seeing mold, algae, or moss taking root wherever moisture collects. For terraces with garden beds or planter boxes, this can mean soggy roots and unhappy plants. Worse still, standing water can seep under tiles, freeze in winter, or cause slippery spots your kids (and you) will definitely complain about. My son Milo learned this the hard way after slipping on our unsloped patio a couple of years back.
Just check out what happens with and without proper slope:
| Terrace Condition | Water After Rain | Common Problems |
|---|---|---|
| No Slope | Pools in low spots | Leaks, damaged tiles, slippery algae |
| Proper Slope (1-2%) | Drains away smoothly | Dry surface, healthy plants, less cleaning |
Local building codes usually require a minimum of 1-2% slope for patios and terraces—anything less, and you can almost guarantee water issues. Just a tiny slope is enough, but skip it, and you’re setting yourself up for repairs and replacements later on.
Long story short: if you want your terrace to stay dry, safe, and easy to maintain, that gentle tilt isn’t optional—it’s your best friend.
Recommended Minimum Slope Ratios
Getting the slope right is not just about looks—it's your best defense against water pooling, leaks, and mold. The sweet spot, according to most pro builders and landscape guides, is a slope of 1% to 2% for terraces. That means the surface should tilt down by at least 1/8 inch for every foot (1%) and up to 1/4 inch per foot (2%) towards the drain.
You can check out the numbers in this simple table:
| Terrace Length | 1% Slope Drop | 2% Slope Drop |
|---|---|---|
| 4 feet | 1/2 inch | 1 inch |
| 8 feet | 1 inch | 2 inches |
| 12 feet | 1.5 inches | 3 inches |
Some folks try to get away with less, but even a 1% slope is about the bare minimum for proper terrace drainage. If you add heavier planters, ceramic tiles, or an outdoor kitchen, sticking closer to 2% is safer. That keeps rainwater rolling off fast and helps avoid issues like slippery moss and grime blowing up under your feet.
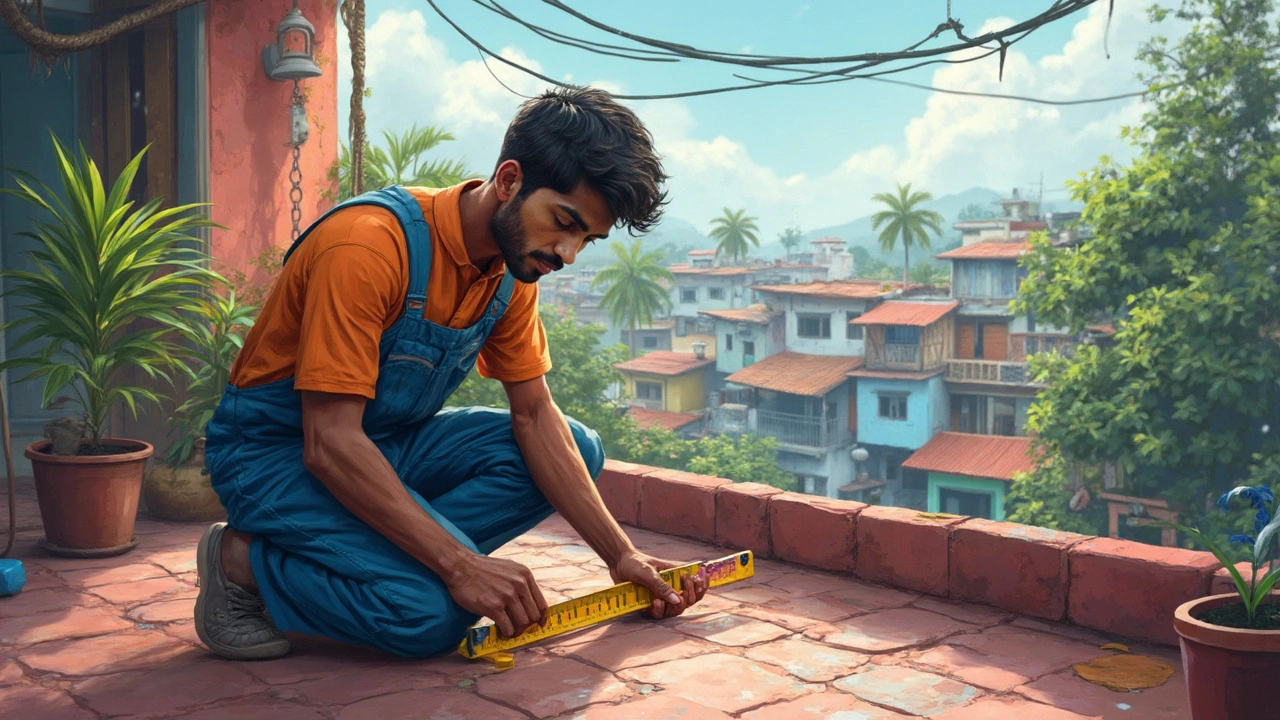
One thing I've noticed while working with Milo in our little back terrace: trying to "eyeball" the slope is a shortcut that usually ends up with more water problems. It’s always worth measuring out that angle properly before you start laying down any pavers, tiles, or even just your favorite outdoor rug.
How to Measure and Create the Right Slope
Getting the slope right on a terrace sounds tricky, but you honestly don’t need pro tools or an engineering degree. Here’s how to do it in real life, without stressing out over complicated math.
First, know that the magic number for slope is about 1–2%. Put simply, you want your terrace surface to drop about minimum slope of 1/8 to 1/4 inch for every foot toward the drain. This keeps everything draining smooth, even after a summer downpour.
Here’s an easy way to check what you’ve got and fix it if needed:
- Grab a level that’s at least 4 feet long (the longer, the better for accuracy).
- Lay the level along your terrace in the direction water should flow (toward a drain).
- Measure the gap between the bottom of the level and the terrace at the downhill end. Every 4 feet, you should get at least half an inch drop for decent drainage.
If you’re starting from scratch, use this table to figure out how much drop you need from one edge to the other:
| Terrace Length (ft) | 1% Slope (in) | 2% Slope (in) |
|---|---|---|
| 8 | 0.96 | 1.92 |
| 12 | 1.44 | 2.88 |
| 16 | 1.92 | 3.84 |
| 20 | 2.4 | 4.8 |
So, if your terrace is 12 feet from the house to the drain, just make sure there’s at least 1.5 inches of drop from high to low. An easy way my friend Bill does it: he ties a string tight from one end to the other, then measures down from the string to the terrace at the drain side. Adjust as you build or lay new tiles, backfill, or even patch old ones with self-leveling compound.
Don’t skip this step—water will find its way under tiles and into cracks if you don’t. If you mess up and end up dead flat, use thin-set, extra concrete, or re-screed to fix small sections. For bigger errors, sometimes ripping up old pavers and restarting is the way to go (not fun, but it works).
Common Mistakes and How to Fix Them
Messing up the minimum slope for a terrace usually comes from skipping steps or trusting your eye instead of measuring. Some folks just wing it and hope water will find its way off—bad move. Others forget all about slope when laying new tiles or concrete, so everything ends up totally flat. When that happens, water just sits there, leading to slippery algae, ruined joints, and damp patches you can’t explain.
The classic mistakes look like this:
- Totally flat surfaces: Looks neat at first, but the first heavy rain exposes the problem. No slope means no drainage.
- Slope in the wrong direction: Water flows to house walls, collection points, or corners where you can’t mop it up.
- Uneven slope: Small dips or bumps in the surface can turn into puddles, making parts of your terrace a soggy mess.
- Poorly placed drains: When drains are higher than the terrace edges, you lose all the benefit of that careful slope work.
If you spot standing water, water stains near walls, or weird moldy smells—those are your red flags. Don’t just ignore small puddles and hope they'll dry up. Tackling it now is so much easier than dealing with leaks inside your house later.
Here’s how to fix the mistakes:
- Rebuild problem spots: For small areas, you can use a self-leveling compound mixed a bit thicker on one side to introduce the right tilt. For bigger fixes, sometimes you have to redo tiles or the top layer.
- Check slope with a level: A long level (at least four feet) with a tape measure can show you if water will run where you want. Lay it on the surface and measure the drop per foot.
- Reseal joints and edges: After correcting the base, make sure to seal any cracks. Water always finds its way in if you don’t.
- Redirect water flows: Make sure your slope points to a working drain or garden bed. If everything flows straight to a wall, use a concrete grinder to shape a gentle channel or install a new drain.
If you catch mistakes early, you’ll dodge nasty repairs later—not to mention mold and frustration. And if you’re redoing the terrace from scratch, take it slow and check the slope every step. Trusting a level and tape measure beats guessing by a mile.
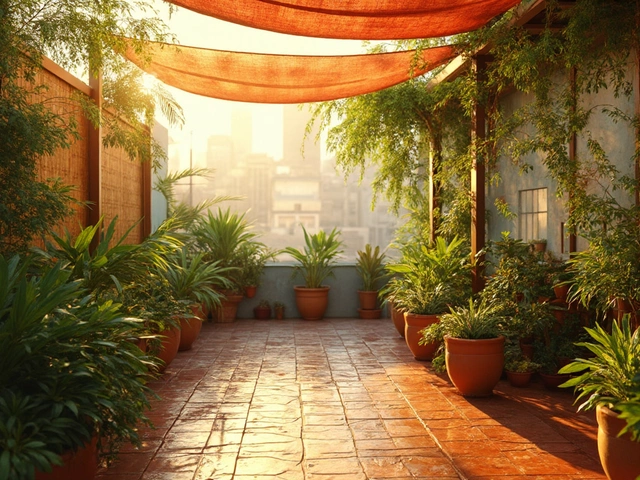
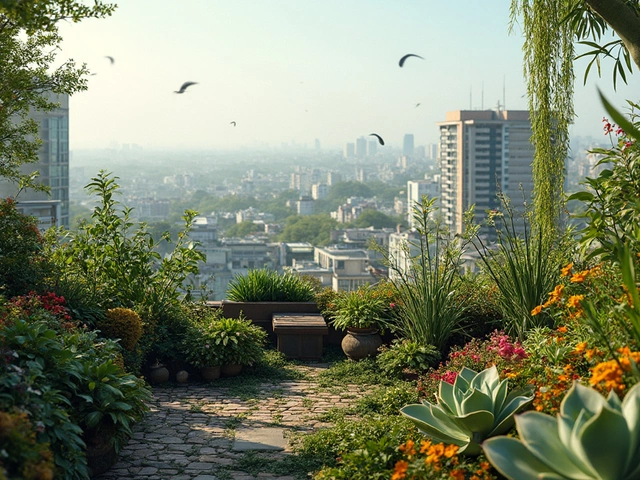
Extra Tips for Drainage in Terrace Gardens
If you want your terrace garden to stay healthy and your patio drama-free, drainage needs to be at the top of your list. It's not just about the slope—there are a few tricks that make a difference, especially if you live somewhere with heavy rain or like to water your plants a lot.
- Check your drains regularly. Trust me, it’s wild how quickly leaves and dirt can clog things up. I do it once a month during the rainy season—or whenever Milo kicks a tennis ball down there.
- Add gravel or garden mesh under pot planters. This keeps soil from blocking the drains. You can use landscape fabric, too, if you want to get fancy. It still lets water pass but catches the muck.
- If your terrace floor is flat (or already paved wrong), try setting down modular plastic drainage mats under deck tiles or artificial turf. These mats channel water, stop puddles, and they’re easy to pop in.
- Use raised beds with drain holes or place pots on stands. This keeps root rot away and helps water flow where it should.
- Direct water with splash guards or flexible rubber strips along the edges, so nothing seeps into your walls.
Device companies and gardeners always talk about proper terrace drainage, but here’s some real-world numbers for you. On a 10-foot-wide terrace with a two percent slope, you want at least 2.4 inches total drop from one side to the drain. That’s enough to avoid pooling and is a rule most pros use.
| Terrace Width (ft) | Recommended Drop (inches, 2% slope) |
|---|---|
| 5 | 1.2 |
| 10 | 2.4 |
| 15 | 3.6 |
| 20 | 4.8 |
One last thing—if you’re building a new terrace or fixing the old one, always plan where your water will go. Don’t let drains pour out near your home’s walls; route them safely into garden beds or storm drains. Plants hate sitting in soggy soil, and trust me, so will you when you see cracks near your house later on.