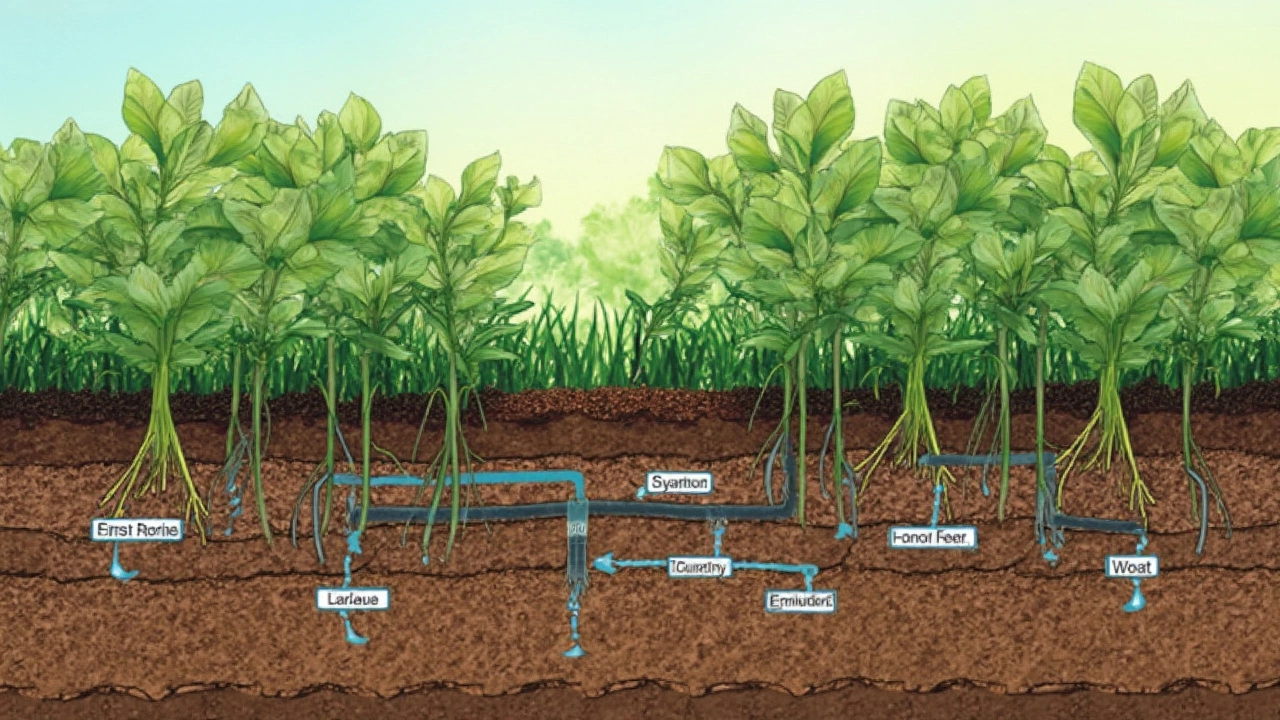
If you’ve looked up garden hacks, you’ve probably seen someone suggest laying drip irrigation beneath landscape fabric. Sounds neat, right? Hides the tubes. No more tripping. But is it really the best move?
Before you grab the shovel, there’s some stuff you should know. Yes, hiding your drip lines keeps things looking tidy, and it can even keep the water from evaporating too fast on hot days. But buried drip lines—literally—can bring problems you can’t see until it’s too late.
Roots love wet spots and can wrap tight around those lines. If there’s ever a clog or a leak, you’re now digging up your whole setup just to fix a $5 fitting. And if you pick the wrong kind of fabric, you can end up with blocked water flow or even mold under there.
So, is putting your drip line under landscape fabric smart, or is it more trouble than it’s worth? Let’s look closer at what really happens under that layer of fabric and how to make your system last.
- Why People Consider Putting Drip Lines Under Fabric
- Pros of Installing Drip Lines Below Landscape Fabric
- Cons and Common Problems with Burying Drip Lines
- Tips for Easy Access and Maintenance
- Expert Advice: What Works Best in Different Gardens
Why People Consider Putting Drip Lines Under Fabric
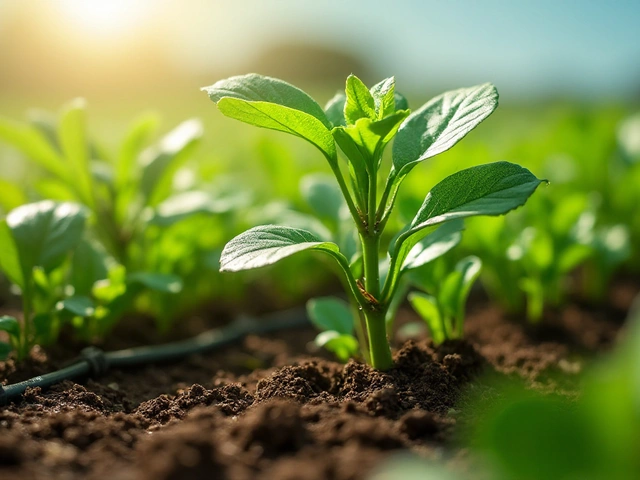
If you've ever been annoyed by messy hoses or stepped on a tube while pulling weeds, you get why gardeners want a cleaner look. One of the biggest reasons folks put drip irrigation under landscape fabric is to keep everything tucked out of sight. The fabric gives that nice, polished finish with all the tubes and emitters hidden underneath.
But it’s not just about looks. Here’s what really motivates gardeners:
- Water efficiency: A lot of the water that sprays on top of mulch or bare soil just evaporates. Putting irrigation under fabric helps water reach the roots directly, especially in hot, dry places. Less water lost means lower bills.
- Weed control: Landscape fabric is supposed to cut down weeds. If the water sits on top of the fabric, it can encourage weed seeds to sprout. Having the tubes underneath targets only your plants and keeps weeds thirsty.
- Reduce trip hazards: No loose lines or spaghetti-tangle of soaker tubes for pets or people to trip over. This makes garden beds easier and safer to walk around.
- Cleaner mulch: When you dump mulch on top of exposed drip lines, the lines shift, float, or clog with debris. Fabric keeps things in place and makes everything easier to maintain.
Some gardeners swear their beds stay healthier with this method, especially when growing perennials or shrubs that don’t need lines moved every year. The idea is simple: put water where it’s needed, keep weeds and mess down, and spend less time fixing things later.
Pros of Installing Drip Lines Below Landscape Fabric
Most people put drip irrigation under landscape fabric to cut down on work. You lay it once, roll the fabric over, and you’re not messing with tubes every time you weed or re-mulch. It keeps your garden looking sharp and free of those black plastic snakes curling between your plants. Plus, no one will trip or catch a rake on them—less hassle all around.
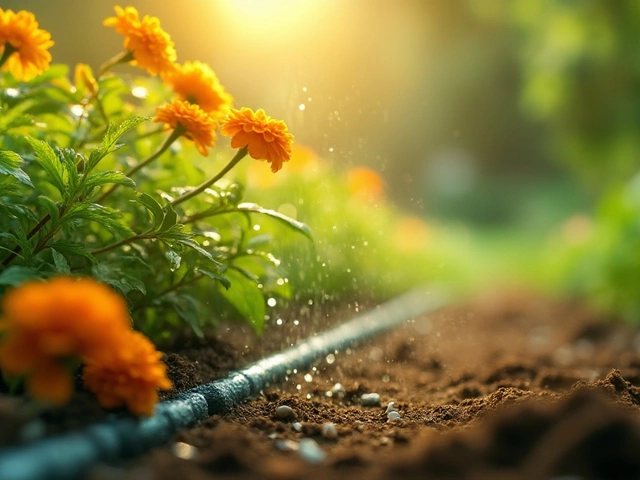
Direct water delivery is a big win. When the emitters are under the fabric, water gets right to the roots with almost zero evaporation. On hot, dry days, that matters. You’re not losing moisture to the sun or wind the way you would if the lines sat on top. Some studies have shown that gardens set up this way can use up to 30% less water.
Keeping the lines under the fabric also protects them from ultraviolet (UV) damage. Drip lines that bake in the sun can get brittle or crack after a few years. The fabric acts as a shield, so the plastic tubing lasts longer and you don’t have to fork out cash on replacements.
Let’s not forget fewer weeds. Drip water goes exactly where you want—at the plant base—so weed seeds blowing onto the mulch get starved out. That means you spend less time pulling what you didn’t plant.
To sum up the main perks:
- Drip irrigation lines stay out of sight for a cleaner garden.
- Water goes straight to the root zone—no waste, better plant hydration.
- Tubing is protected from weather and damage, so it lasts longer.
- Less weeding since water isn’t getting everywhere.
- No tripping or snagging hazards above ground.
If your goal is a tidy look, efficient water use, and fewer headaches, putting drip lines under landscape fabric can score high marks.
Cons and Common Problems with Burying Drip Lines
Burying drip lines beneath landscape fabric seems simple, but it brings a set of headaches. The biggest issue? You give up easy access. Once the lines are hidden, spotting and fixing problems turns into a chore—sometimes even requiring full teardown of the setup. Here’s how those problems play out in real gardens:
- Drip irrigation lines get clogged more often if you can’t see what’s going on. Debris, mineral build-up, or a pinhole leak could waste gallons of water before you notice.
- Roots are sneaky. If there’s good moisture under the fabric, plant roots often work their way to the emitter holes, wrapping or even invading them. Clogged emitters aren’t just annoying—they can kill patchy spots in your garden.
- Rodents and bugs sometimes chew through unseen tubing, especially in warm seasons. If you’re not looking under the fabric, you might not catch this until things dry up.
- Fabric itself can be a problem if it’s too thick or non-porous. Some landscape fabrics don’t let enough water through, leaving dry zones or pushing water sideways instead of straight down to roots.
One overlooked problem: repairs. If you ever need to fix or move the lines, you’ll have to pull up the fabric, which usually means disturbing your mulch, plants, and weed barrier. Not fun—especially if you just got everything looking perfect.
| Problem | How Common | Extra Issues |
|---|---|---|
| Clogged emitters | Very common | Hard to spot until plants wilt |
| Mouse or insect damage | Surprisingly common in some areas | Invisible chew points under fabric |
| Poor water distribution | Depends on fabric quality | Patchy growth, uneven blooms |
| Maintenance hassles | Very common | Requires ripping up set-up for repairs |
The data’s clear: maintenance calls to irrigation pros go up when lines are buried—sometimes as much as 30%. If you love a hands-off system and a perfect garden, consider these downsides before you roll out the landscape fabric and shove your tubing underneath.
Tips for Easy Access and Maintenance
If you’re thinking about putting your drip irrigation system under landscape fabric, you’ve got to plan ahead for repairs and seasonal check-ups. Nothing’s worse than having to pull up half your yard just to reach a leaking connector.
One of the best moves is to lay your main lines and connector points above the fabric where you can. At least keep all major connections—like valves or filters—easy to reach. For lines that need to run under the fabric, mark their locations with garden stakes or use a drawing you can keep for reference. Trust me, you’ll thank yourself later when something inevitably needs a fix.
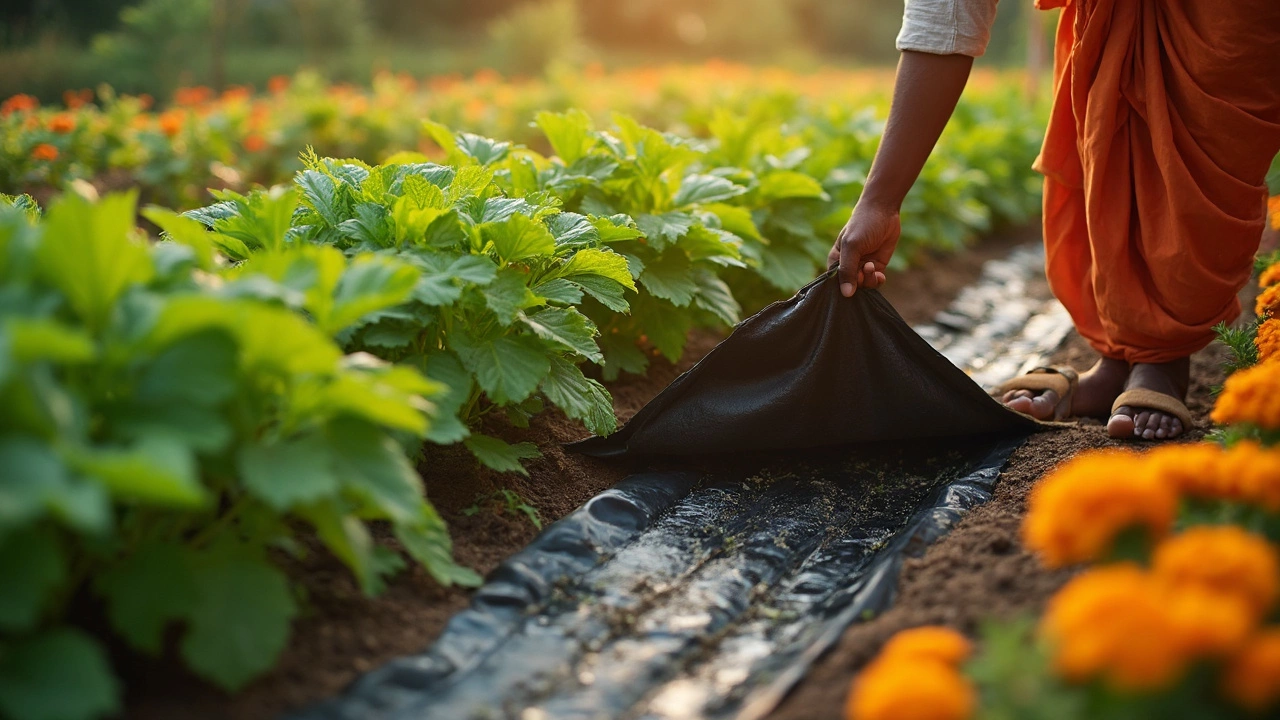
The type of fabric makes a difference for maintenance too. Go for a woven landscape fabric instead of plastic sheeting, because it lets water through but still slides up if you need to access your drip tape underneath. Some gardeners even cut small flaps directly above emitters or junctions. Just lift the flap, tweak the line, and drop it back—no giant holes in your weed barrier.
You also want to flush your lines twice a year—at the start and end of the season. This keeps small bits of soil and roots from clogging emitters, especially when buried. Here’s a straightforward yearly check that works for most home gardens:
- Mark and map where every line and emitter goes before burying anything.
- Keep access points (like filters and backflow devices) above ground.
- Cut removable flaps or holes in the landscape fabric directly above key fittings.
- Flush lines with water every spring and fall to remove sediment.
- Check for leaks or unusual dry zones during watering—patch as needed.
- Replace emitters every 3-5 years if you notice weak flow; they clog and wear out.
Here’s a quick look at fabric types and how they affect your ability to maintain drip lines:
| Fabric Type | Ease of Access | Water Flow | Durability |
|---|---|---|---|
| Woven Landscape Fabric | Easy—can fold or cut flaps | Good | High |
| Non-woven Fabric | Moderate—tears with repeated lifts | Fair | Medium |
| Plastic Sheeting | Difficult—must cut; doesn’t reseal | Poor | Low (breaks down in sun) |
Bottom line: save yourself time and frustration by thinking about problem spots before you cover anything up. A clear map, smart fabric choice, and planned access make maintenance and troubleshooting way easier.
Expert Advice: What Works Best in Different Gardens
Figuring out if drip irrigation lines should go under landscape fabric depends a lot on your garden type and climate. Experts, including those from university extension programs like UC Davis and Texas A&M, have tried just about everything, and their advice is pretty practical.
For vegetable gardens or annual beds where you switch plants every season, they usually say: keep your lines above landscape fabric. You'll save yourself some major headaches. Why? Because things change all the time in these spots and you’ll want to move your lines or replace emitters before the next season. Plus, roots grow like crazy in veggie patches and can actually strangle your lines if they’re trapped under fabric.
- Use landscape fabric for weed control, but lay drip lines right above it.
- If you mulch, put the drip line under a thin layer (about 2 inches) to hide it and keep moisture in.
Now, for shrubs or permanent landscaping, you’ve got more wiggle room. Here, putting the drip irrigation tubing underneath the fabric can actually make sense, since you won’t be replanting much. This hides the tubing from view and keeps it safe from sunlight, which can make plastic brittle over time. Just remember to use a quality, permeable fabric instead of thick plastic, or you’ll mess up water flow.
- Stick with woven landscape fabrics—they let water through, avoid ponding, and cut down on root growth right on top of the tubes.
- Wire down the tubing every 2-3 feet. It keeps the line in place, so it doesn’t shift when roots grow or animals burrow.
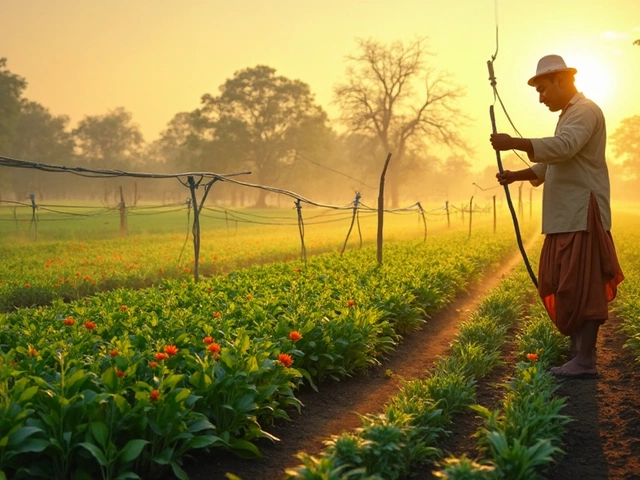
Got a sloped yard? Experts warn that water can run off the fabric surface too quickly on hills, making it harder for everything underneath to get a good soak. In that case, bubbling emitters set under mulch or tucked into pockets of the landscape fabric work a lot better than just lines.
Check out this quick stat table for common home garden situations and what actually works:
| Garden Type | Drip Line Placement | Recommended? |
|---|---|---|
| Vegetable Beds | Above Landscape Fabric | Yes |
| Perennial Shrubs | Below Landscape Fabric | Yes, with woven fabric |
| Sloped Gardens | Above or bubbler under mulch | Bubblers, not drip lines, under fabric |
| Container Gardens | Not recommended with fabric | N/A |
If you want to future-proof your setup, leave the ends of each drip line sticking out somewhere easy to reach. That way, you can flush the lines, fix clogs, or expand next season without going full archaeologist on your yard.
The takeaway? Match your setup to your plants and climate, not just what looks neat. If you’re ever not sure, local master gardener hotlines are a goldmine for real-world tips that work in your zip code.