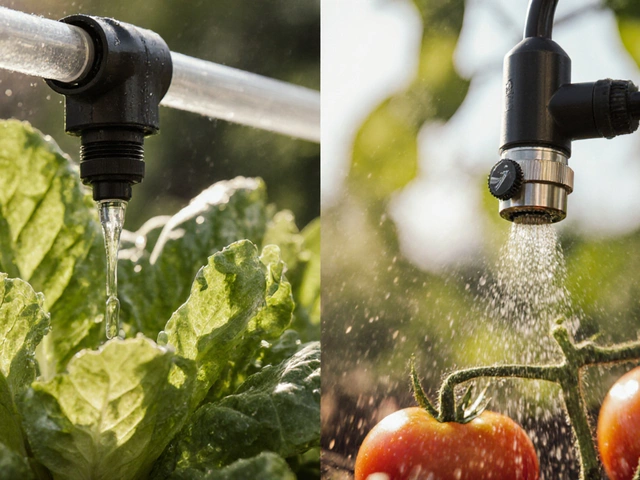
Think about watering your garden on a scorching day. Those little emitters chugging along, delivering water right where you need it. But here’s something not everyone talks about: should you bury your drip irrigation or leave it out in the open? Some gardeners swear by hiding it, others say let it breathe. There’s actually a lot at stake with your choice—and more garden drama than you might guess. Drip systems are everywhere now, but the answer isn’t one-size-fits-all.
Burying Drip Irrigation: What Actually Happens and Why
The first reaction some folks have is, "How deep do I even bury this stuff? Am I about to dig a big mistake?" Let’s untangle things. Drip irrigation works by delivering water with low pressure, right at the plant roots. The idea seems simple: less evaporation, less runoff, less wasted water. But does burying it mess with that concept?
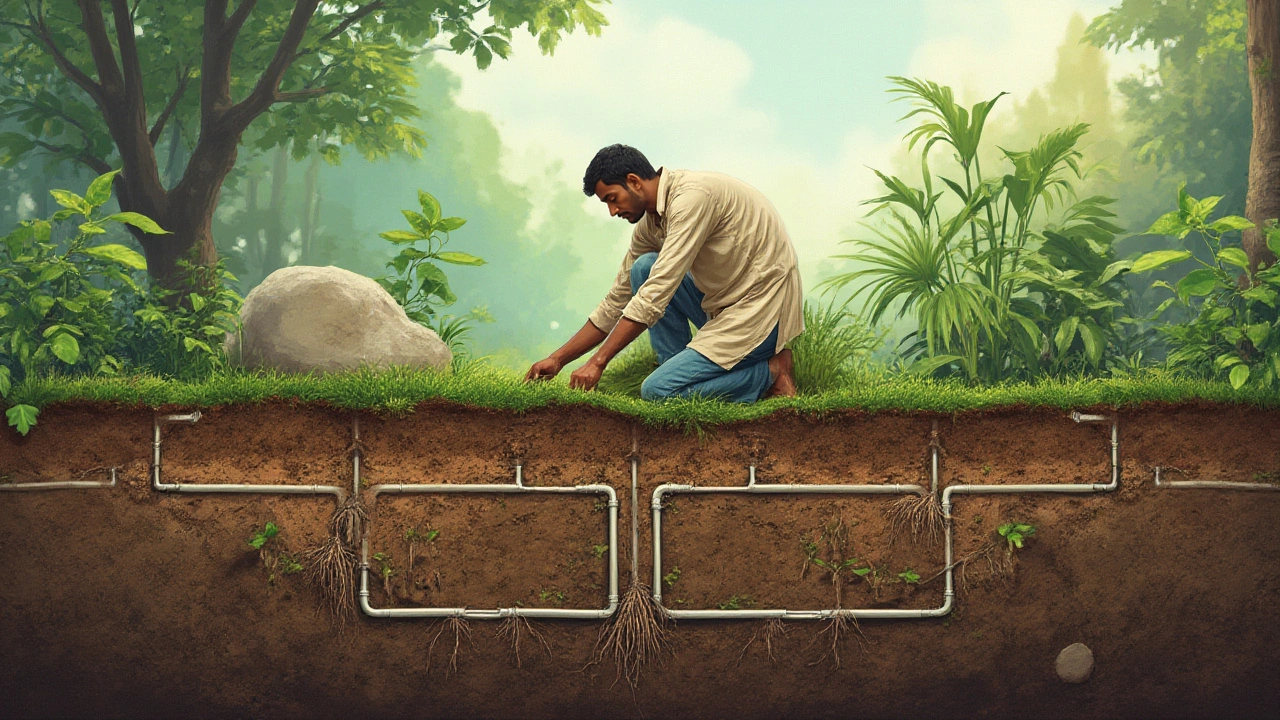
Burying drip lines—usually one to two inches below the soil surface—has some perks. You stop sunlight from degrading the tubing, which, weirdly enough, can lead to cracks and leaks years before you planned to replace your gear. Rodents are less likely to chew on lines they can’t see. Plus, you won’t stub your shovel on plastic next time you plant tomatoes.
The big reason buried drip is gaining fans: less evaporation. You’ve probably seen studies floating around about water loss on the surface. One made in Arizona’s dry fields found that burying drip lines cut evaporation by up to 30%. That’s not a small deal if you live somewhere hot and dry, where every drop counts.
On the flip side, burying isn’t a magic bullet. You still have to watch out for roots clogging emitters. A buried line makes repairs harder. You can’t spot leaks right away, so you might waste time and money before realizing something’s up. There’s also the risk of overwatering—since you don’t see puddling or wet patches, you could be soaking soil deeper than roots need.
What about spacing and depth? You can’t just toss the tubes wherever. For row crops or dense beds, a single line down the middle works okay at 1–2 inches deep. For trees and shrubs, ring them with tubing about 12 inches from the trunk, still underground. Not too close, though, or you might rot out roots instead of nurturing them.
Let’s not gloss over installation pain. If you have rocky or clay-heavy soil, digging trenches means double the effort. Some professional installers use specialized shovels and machines, but for most backyard gardens, it’s a slow, sweaty slog. Not for the impatient.
Surface vs. Subsurface: Making the Right Call for Your Garden
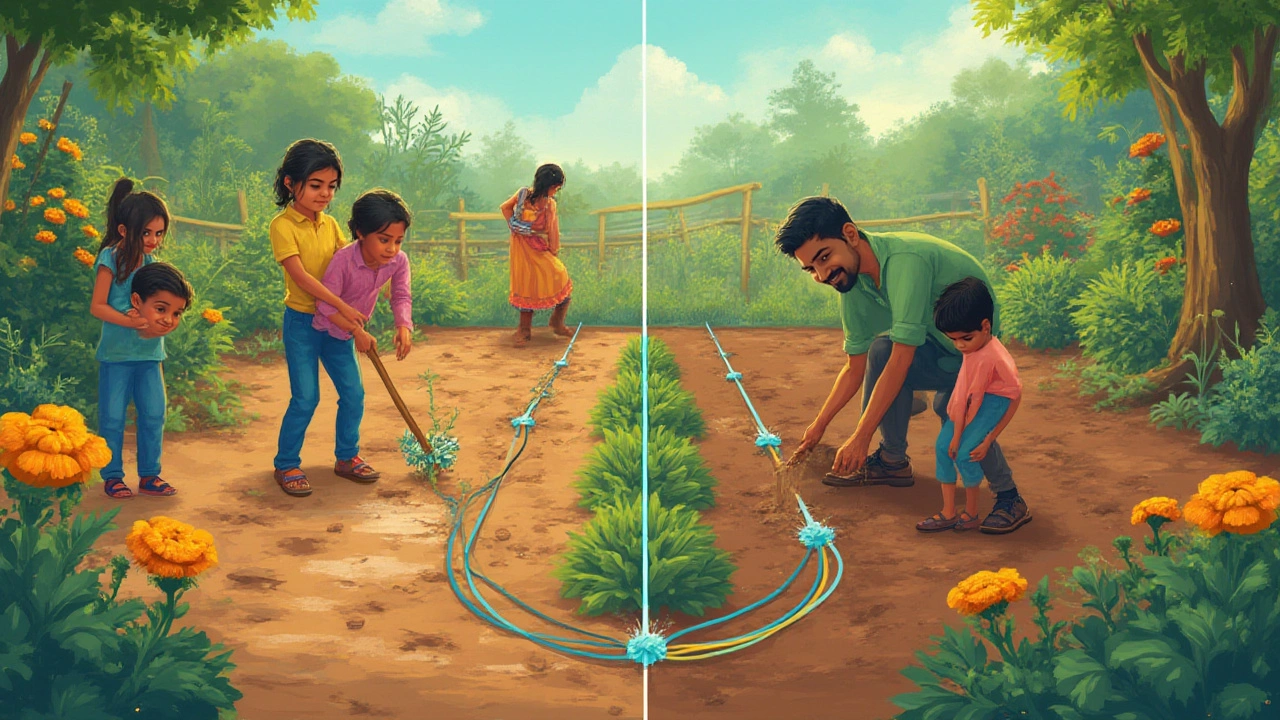
I get it—a lot of us just want the simplest setup possible. Leaving the drip lines on the surface is fast, flexible, and easy to inspect. If you notice a dry patch or chewed tubing, you see it instantly. Swapping clogged emitters or changing layouts is a snap, especially if your plants move around each season.
But surface lines have their headaches, too. The biggest enemy? UV rays. Over a few summers, sunlight breaks down cheap tubing. You see cracks, leaks, and sometimes lines popping apart. Mulch helps, hiding lines from the sun, but some people don’t want garden beds topped with bark or straw.
Surface drip also invites animal mischief. Squirrels, rabbits, even dogs—if they spot something unfamiliar, they just might chew on it. It’s not uncommon to wake up to a garden fountain you didn’t order. Plus, surface lines are tripping hazards. For some, the setup just looks messy, especially in front yards or ornamental beds.
If you cover your drip with mulch, you’ve got a middle ground. Mulch blocks sunlight and keeps lines cooler, slowing down any plastic degradation. It also helps water soak into the ground instead of running off or evaporating. But heavy mulch can make finding leaks harder, especially if you forget exactly where you set up the tubing last spring.
Timing matters, too. In cooler, humid climates, surface lines work fine. Evaporation isn’t as fierce, and below-ground pests might be less common. In hot, dry, or windy settings, burying lines—even just an inch—protects your investment and saves water.
One pattern I see with long-time gardeners: most start with drip on the surface, then move lines below as their plantings fill in. It’s a sort of trial phase—making sure your design works before you go all-in digging trenches. If you want to skip straight to buried lines, map things carefully. Take pictures of where your tubing runs. You’ll thank yourself next season, trust me.
Tips, Tricks, and Real-World Solutions for Every Situation
So what do folks actually do out there? In vineyards and commercial farms, almost all drip is buried—sometimes eight inches deep for tree crops, two inches for vegetables. They want efficiency and don’t mind a repair being a bit more effort. In home gardens, it’s more of a 50/50 split. Beginners usually stick to surface setups. Experienced gardeners and those who’ve wrestled with too many chewed hoses often go subsurface.
Here are a few smart moves if you’re thinking of burying your drip lines:
- Pick quality tubing. Not all plastic is equal. Go with UV-resistant and rodent-resistant brands.
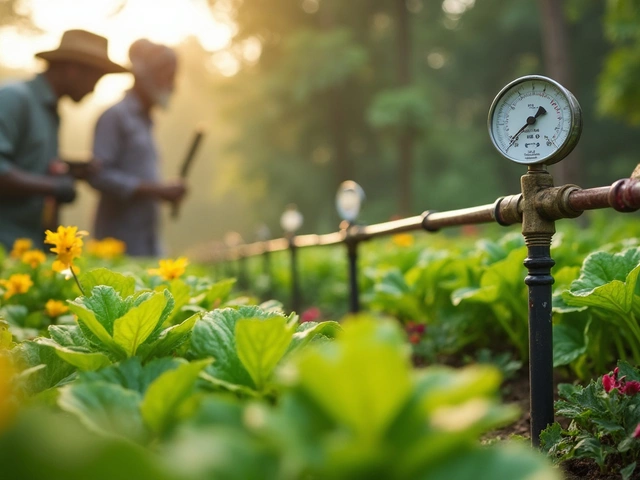
- Install filters and pressure regulators. Buried emitters can clog fast from tiny soil particles or pipe gunk.
- Don’t bury connections and valves—you’ll want to reach them without a shovel.
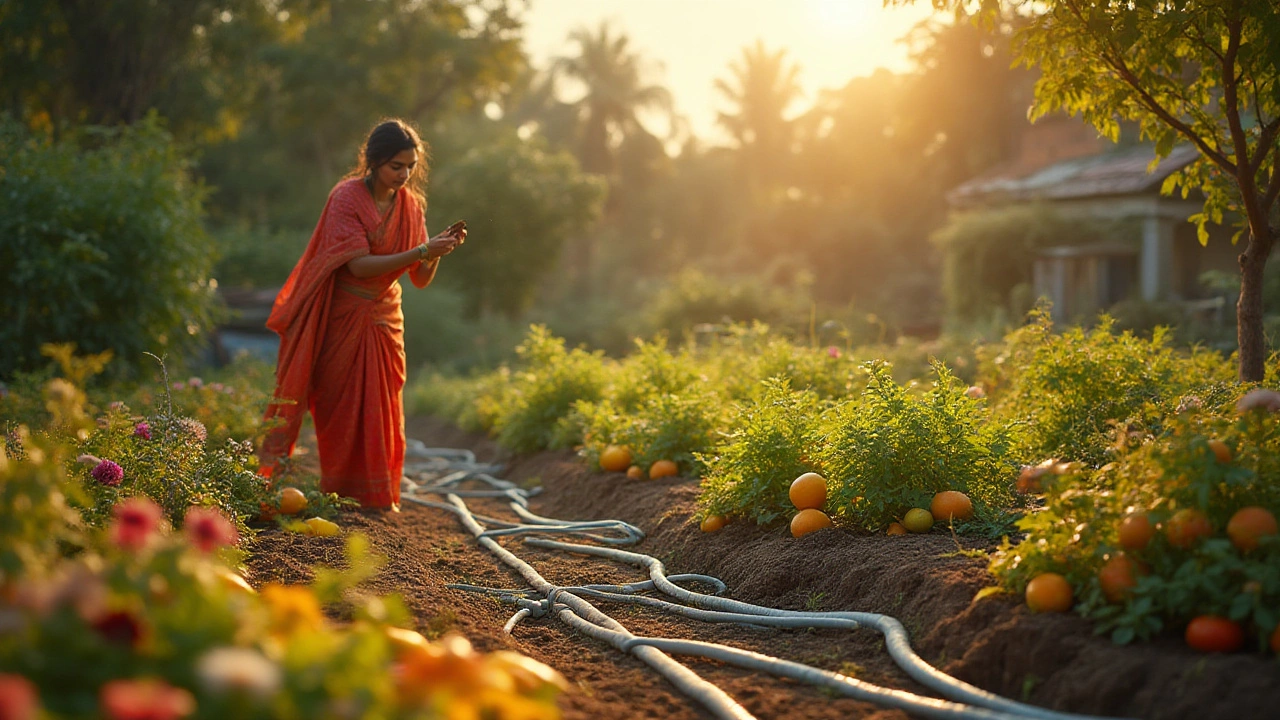
- Mark your layout. Use landscape pins or map it on your phone. You’ll forget by next spring, promise.
- Flush your system at the beginning and end of the season. This kicks out debris before it can clog up the works.
- Aim for shallow burial. Unless you’re planting trees, there’s no need to go deeper than an inch or two.
- Watch for root intrusion with aggressive plants. Mint and bamboo especially love to find their way into emitters.
- Don’t panic about leaks. Even pros have to fish for problems now and then. A soil probe or moisture meter can help pinpoint wet spots underground.
- If frost is an issue, draining or blowing out the lines before winter helps avoid split tubes in spring.
If you’re working on raised beds, keep in mind that the soil heats up faster, and surface lines may dry out even sooner. A shallow burial, even under an inch of compost, can stave off extreme heat.
One more secret trick? In flower gardens where you want the cleanest look, spiral the drip tubing around plants, then bury lightly. It feeds everything evenly but stays invisible. You can do the same for shrubs—ring the base, bury, then plant your annuals on top, and you’d never guess there’s a system hiding underneath.
For those worried about cost, burying drip lines doesn’t up your material budget, just the labor. The most money-saving move is always mapping before you dig. Changing your mind after everything is buried means double work, or worse, yanking up lines that block your next planting scheme.
There’s no one rule for every garden, but in hot, sunny climates or if you just can’t stand patching chewed-up tubes, go for the buried option. Just remember to take a picture of your layout and double-check those filters. And for the rest of us? Don’t overthink it. Keep that drip irrigation simple and working for your unique patch of dirt. The best system is the one that keeps your plants happy—and you a little less muddy at the end of the day.