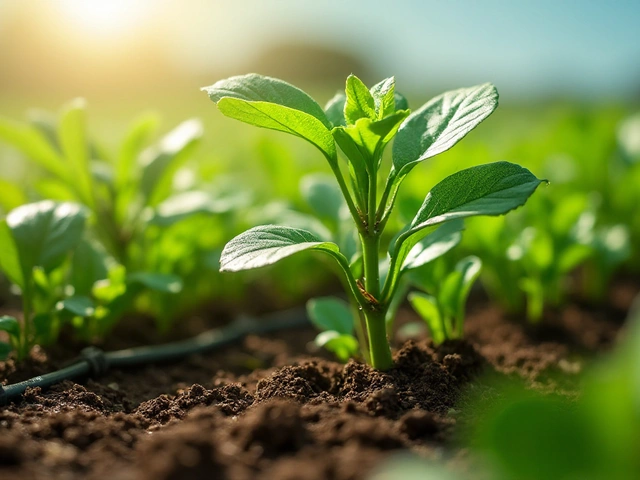
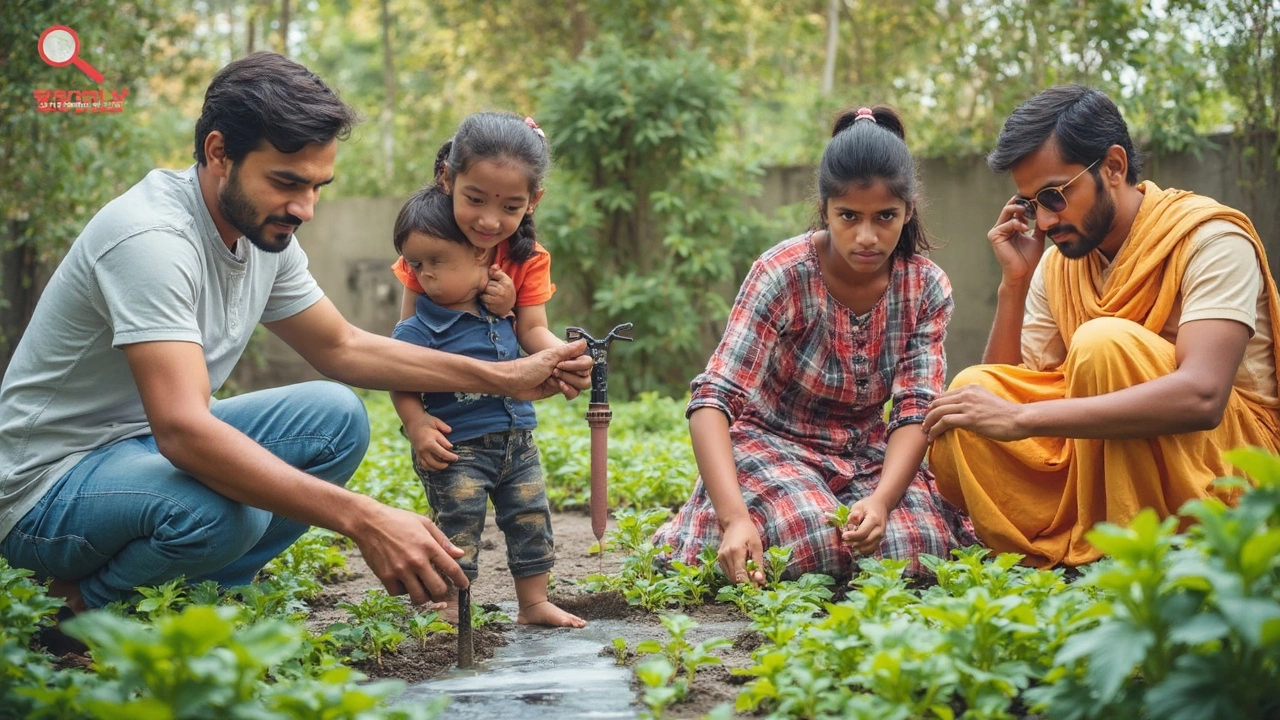
If you've installed a drip irrigation system, you've probably noticed how drippers and emitters do most of the heavy lifting. These little parts let water out slowly, aiming it right where your plants need it. Sounds perfect, right? But here's where things get real: they can also cause some seriously annoying problems.
Clogging is hands-down the main reason folks get frustrated with these systems. A blocked emitter means a thirsty plant, and that's trouble. Buildup happens fast from dirt, minerals, or even tiny bugs in the line. It doesn't take much—just a bit of gunk or before you know it, one side of your garden gets way less water than the other.
It's not just about clogging, though. Drippers can get knocked out of place, chewed on by critters, or even messed up by low water pressure. When these problems pile up, you're left with dry patches, wasted water, and a bit more work than you bargained for. So, what causes all this, and how do you catch it before it wrecks your plants? Let’s break it all down and keep your drip system from becoming a drip disaster.
- What Are Drippers and Emitters Anyway?
- The Number One Downside: Clogging
- Other Sneaky Problems with Drippers
- What Causes These Issues?
- How to Spot Trouble Early
- Tips to Keep Your Drip System Running Smooth
What Are Drippers and Emitters Anyway?
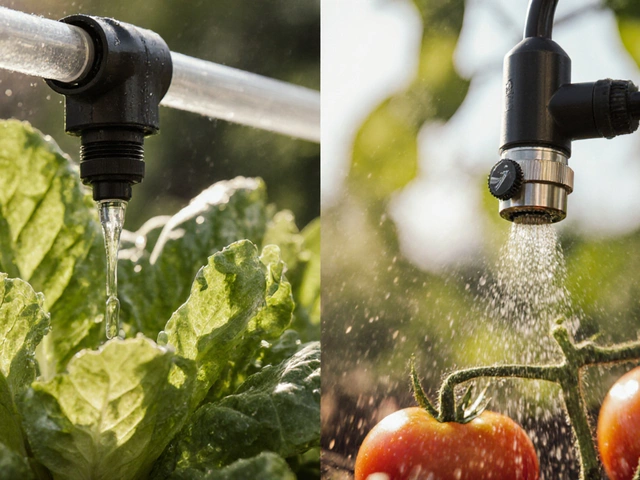
Drippers (sometimes called emitters) are the real stars of any drip irrigation setup. They're tiny plastic devices you stick right into your tubing, and they let out water slowly and directly at the roots of your plants. The whole point is to save water by not spraying all over the place like old-school sprinklers do. Instead, you just target where the plant needs it most.
Here's the thing: emitters come in lots of shapes and sizes, but most of them work about the same way. Inside, they've got super narrow channels or little filters. These control how fast the water leaks out—think slow drip, not a squirt. You can buy different flow rates depending on how thirsty your plant is. Most home garden drippers go from 1 to 2 gallons per hour (GPH), but some commercial setups use even slower ones.
Check this out:
| Emitter Type | Common Flow Rate (GPH) | Best For |
|---|---|---|
| Pressure-compensating | 1.0 - 2.0 | Mixed terrain gardens |
| Non-pressure-compensating | 0.5 - 2.0 | Flat garden beds |
| Adjustable dripper | 0 - 10 (adjustable) | Pots, planters, trees |
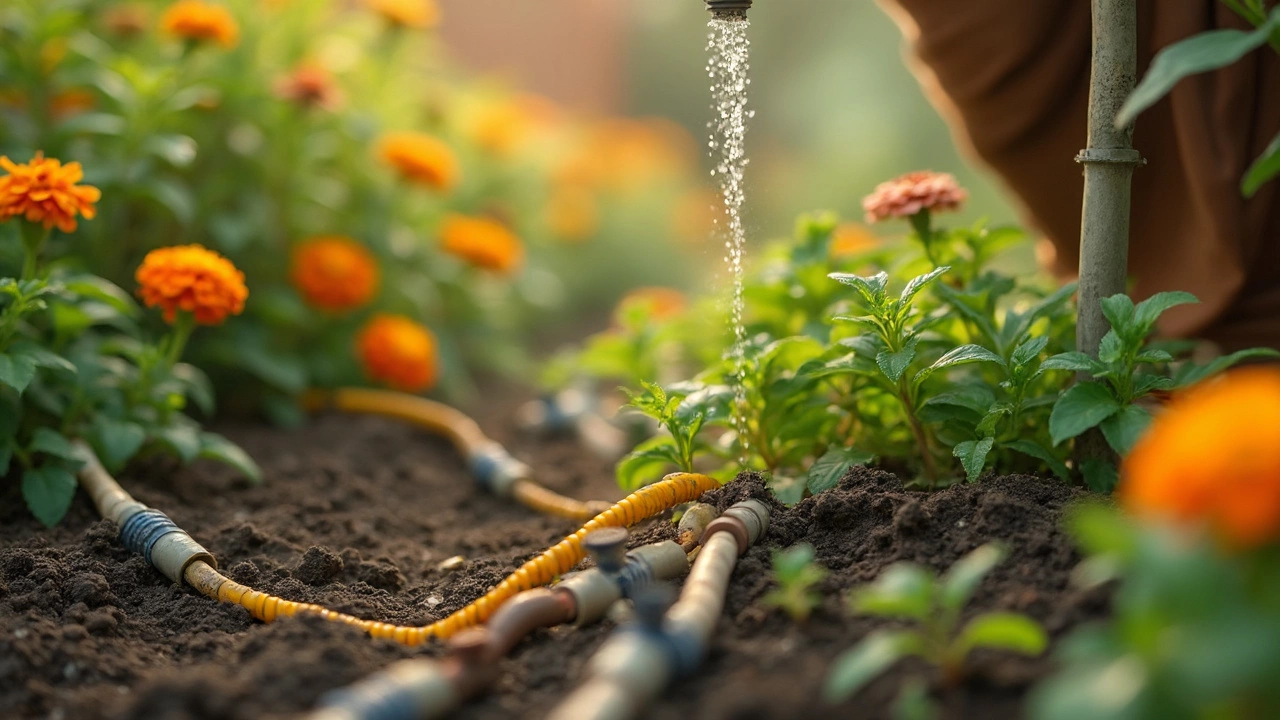
Most systems use a whole bunch of these together. You just punch a tiny hole in the main tubing, pop the dripper in, and run a little spaghetti tube to each plant if you need to be more exact. The nice thing? You can add or move emitters pretty easily as your garden changes.
The right emitter can make sure a tomato gets more water than a dry-loving herb like sage. But there’s always a tradeoff—any tiny passage can get gummed up over time. Still, understanding the basics of drippers means fewer surprises down the road.
The Number One Downside: Clogging
Let's get straight to the heart of it: the biggest headache with drippers and emitters is clogging. All it takes is some dirt, mineral scale, or a bit of algae, and suddenly your water flow drops or stops completely. It's a common issue that can mess up how your plants get watered, so it's not just a small nuisance—it's a real problem for your whole drip irrigation setup.
Here's what gets into drippers and causes clogs:
- Dirt and sand—especially if you use untreated well water or water directly from a pond or ditch.
- Minerals—hard water brings calcium and magnesium that build up inside tiny openings over time.
- Algae and bacteria—any warm, sunny place with standing water can be a breeding ground, and the Biofilm they leave can block flow fast.
- Rust—from old steel pipes or metal parts in the system.
The holes in most emitters are just 0.5 to 2 millimeters across—about the width of a sewing needle. That makes them really sensitive to even the smallest gunk. Check out this table for a quick look at what most folks deal with:
| Clogging Cause | % of Drip System Issues |
|---|---|
| Dirt/Sand | 38% |
| Mineral Buildup | 24% |
| Algae/Biofilm | 20% |
| Rust | 8% |
| Other (bugs, manufacturing defects, etc.) | 10% |
Some folks run filters before the main line, but even those need regular cleaning or they’ll get clogged too. If you see your plants looking droopy or notice dry patches, it's a solid sign something's up with your emitters. And if you're on hard water, you should probably plan to clean or swap your emitters way more often than you'd think—once or twice each season is not uncommon.
If you want to avoid the hassle, stick with good quality filters, flush your lines regularly, and check your emitters by eye every few weeks. Clogs aren't totally unavoidable, but a little routine care does go a long way.
Other Sneaky Problems with Drippers
Clogging grabs the spotlight, but it’s not the only thing that can trip up your drip irrigation. These drippers have a handful of sneaky issues that can mess with your watering game.
First up: uneven water output. Not all drippers are perfectly consistent, especially as systems get older or if you’re pushing water long distances. It’s not uncommon for drippers near the start of the line to leak out more water than those at the end. That means some plants end up soggy while the others get barely enough.
- Drip irrigation lines lose pressure as they get longer, which throws off the balance and output for each dripper.
- Drippers can pop out or get knocked loose, leading to leaks or accidental mini geysers that flood one spot but starve the rest.
- Salt and mineral deposits build up inside the emitter, even if they don’t fully clog it. This slows down the flow and messes with accuracy over time.
- UV damage from spending all day in the sun eventually makes the plastic brittle. A busted dripper can turn a slow drip into a random jet.
- Critters love drippers too. Rodents sometimes chew on lines or emitters, leaving you with messes that are tricky to find.
If your system uses water that’s not 100% clean—maybe from a well, a rain barrel, or reused water—expect more issues. Dirty water speeds up all sorts of nasty surprises, including biofilm (that slimy layer inside tubes) or algae growth, which squeeze the life out of your system.
Here’s a quick peek at why these headaches happen and how often folks run into them:
| Problem | Commonness (out of 10) | Main Causes |
|---|---|---|
| Uneven Watering | 8 | Pressure loss, worn drippers, long lines |
| Popped Out Drippers | 6 | Poor installation, shifting soil, animal activity |
| Mineral Buildup | 7 | Hard water, infrequent flushing |
| UV Damage | 5 | Sunlight exposure, cheap materials |
| Animal Damage | 4 | Rodents, pets chewing or tugging |
| Biofilm/Algae Growth | 7 | Warm temps, unfiltered water, standing water in pipes |
The key takeaway: these aren’t just rare flukes. They show up so often that most people with drippers will run into at least one or two during a season. The trick is knowing what to look for and having a plan to fix them fast.
What Causes These Issues?
If your drip irrigation system is acting up, the culprits aren’t always obvious. Most of the big problems with drippers and emitters boil down to a few repeat offenders. Knowing exactly what messes them up helps you fix things faster—and even dodge headaches before they start.
The number one reason for trouble? Debris and buildup. Tiny particles like sand, clay, or minerals sneak into your water supply, and once they’re in, they stick to the insides of those small emitter holes. This is especially true if your water comes from a well, pond, or a city line with hard water. Here’s a quick look at what causes the main issues:
- Dirty water: Any gunk in your supply can settle in your drippers. Without a filter, even small stuff gets stuck and blocks flow.
- Hard water: High minerals like calcium leave crusty deposits. Over time, this scales up and chokes your emitters.
- Algae & bacteria: Warm temps and sunlight? That’s an algae party inside your lines—green goo that jams everything up.
- Chemical residue: Some fertilizers, if run through the system, can leave behind sticky leftovers that clog up your drippers.
- Low water pressure: Without enough pressure, some areas in your system don’t push water all the way out, making it easier for stuff to settle and clog openings.
But wait, it’s not just water problems. Critters like ants and wasps find the warm, damp ends of emitters super cozy for setting up shop. Plus, roots from thirsty plants love to worm their way inside for that direct hit of moisture. Sun exposure can also age plastic emitter parts, making them brittle or misshapen so they don’t flow evenly anymore.
Just to show how common some of these problems are, check out the stats below from a University of California field study on drip systems:
| Problem Source | Percent of Drip Failures |
|---|---|
| Clogging from Sediment/Minerals | 61% |
| Biofilm Build-up (Algae/Bacteria) | 20% |
| Rodent/Root Intrusion | 12% |
| Chemical/Fertilizer Residue | 7% |
So, it’s usually a mix of water quality, outside invaders, and sometimes even the chemicals you think are helping your plants. Keeping an eye out for these triggers goes a long way in protecting your setup from big problems down the road.
How to Spot Trouble Early
Staying ahead of problems with your drip irrigation system is a game-changer. Checking for trouble isn’t hard, but you need to know what to look for. Most issues can be spotted before they turn into plant disasters if you keep an eye out for a few simple signs.
The first thing to watch for: uneven plant growth. If one row is looking droopy or stays dry even after watering, you might have a clogged emitter or a line issue. A quick way to check is right after the system finishes its cycle. Walk the rows and look for dry patches or plants that just seem thirsty.
Water puddles are another red flag. They can mean an emitter is knocked out of place or leaking. If you see soil washed out under an emitter or little pools near the base of plants, you’ve probably got a loose or damaged drip.
Inspecting the emitters is easier than you think. Grab a bucket or cup and catch the water from a few emitters around the garden right after turning on the system. If you notice big differences in how much each one puts out, there’s clogging somewhere. Remember, emitters are designed to release about the same amount for every plant. Disconnected or missing drippers are pretty common, especially if pets or wildlife roam the area.
- Check the filter at least every few weeks. A dirty filter often means more clogs down the line.
- Listen for weird sounds when the water turns on—sputters or loud hissing can signal trapped air or low pressure.
- Flush the lines once a month, even if everything seems fine. This can wash out gunk before it becomes a problem.
- Mark broken emitters or sections with a bright tag so you don’t forget to fix them on your next supply run.
Taking ten minutes each week for a walk-through really pays off. You’ll catch problems early and save yourself a surprise when a favorite plant starts wilting, or worse—dies out completely. This way, you keep your drip system doing what it’s supposed to do, quietly and efficiently.
Tips to Keep Your Drip System Running Smooth
Keeping your drip system working well isn't rocket science, but you do need to stay on top of a few things. Let’s walk through what actually helps and what just wastes time. The main thing? Keep an eye out for clogs, because that’s the #1 killer for most drip irrigation systems.
- Flush Your Lines Regularly: Open the ends of your drip lines and let water run out for a couple minutes every month. This clears dirt, tiny rocks, or bugs before they mess things up.
- Use Good Filters: Don’t skip the filter, and clean or swap it out at least once each season. Big particles sneak in and block emitters fast.
- Check Your Water Pressure: Drip systems play nice with low, even pressure—usually around 20 PSI. If you notice misting or drippers shooting sideways, your pressure’s too high. Too low, and water barely trickles out.
- Inspect for Leaks and Busted Drippers: Walk the lines while the water’s on. If you see a geyser, puddle, or a dripper lying in the dirt, fix it right away. Raccoons and rodents love chewing these things!
- Pick the Right Emitters: Some emitters are labeled “pressure compensating.” These release the same amount of water even if pressure fluctuates—handy for longer lines or hills.
- Winterize if You Get Freezes: Drain and store your system at season’s end. Freezing water expands and splits tubing or emitters, making spring setup a pain.
Let’s back all that up with some quick stats. Here’s what’s behind the most common headaches with drip systems, so you know what to focus on:
| Problem | % of Drip Users Affected (Survey) | How to Prevent |
|---|---|---|
| Emitter Clogging | 60% | Flush lines, use filters |
| Pressure Issues | 22% | Install pressure regulators |
| Animal Damage | 15% | Inspect regularly, bury lines |
| Freezing Damage | 8% | Drain system before winter |
If you make these checks part of your routine, you’re way less likely to run into trouble. Most dripper headaches are easy to dodge if you act before problems start—no fancy tools needed, just a sharp eye and a little time each month.